
Dolphin Pose is an intermediate upper body exercise you can do with no equipment. Below is the full movement, step by step, with the form cues and common mistakes that matter most.
At a glance
| Body area | Upper body |
|---|---|
| Difficulty | Intermediate |
| Equipment | None — bodyweight only |
| Movement pattern | Mobility |
| Steps | 2 |
Muscles worked
The pattern here is mobility. Follow it with a strength movement in the same session and the workout stays balanced.
How to do it
Step 1
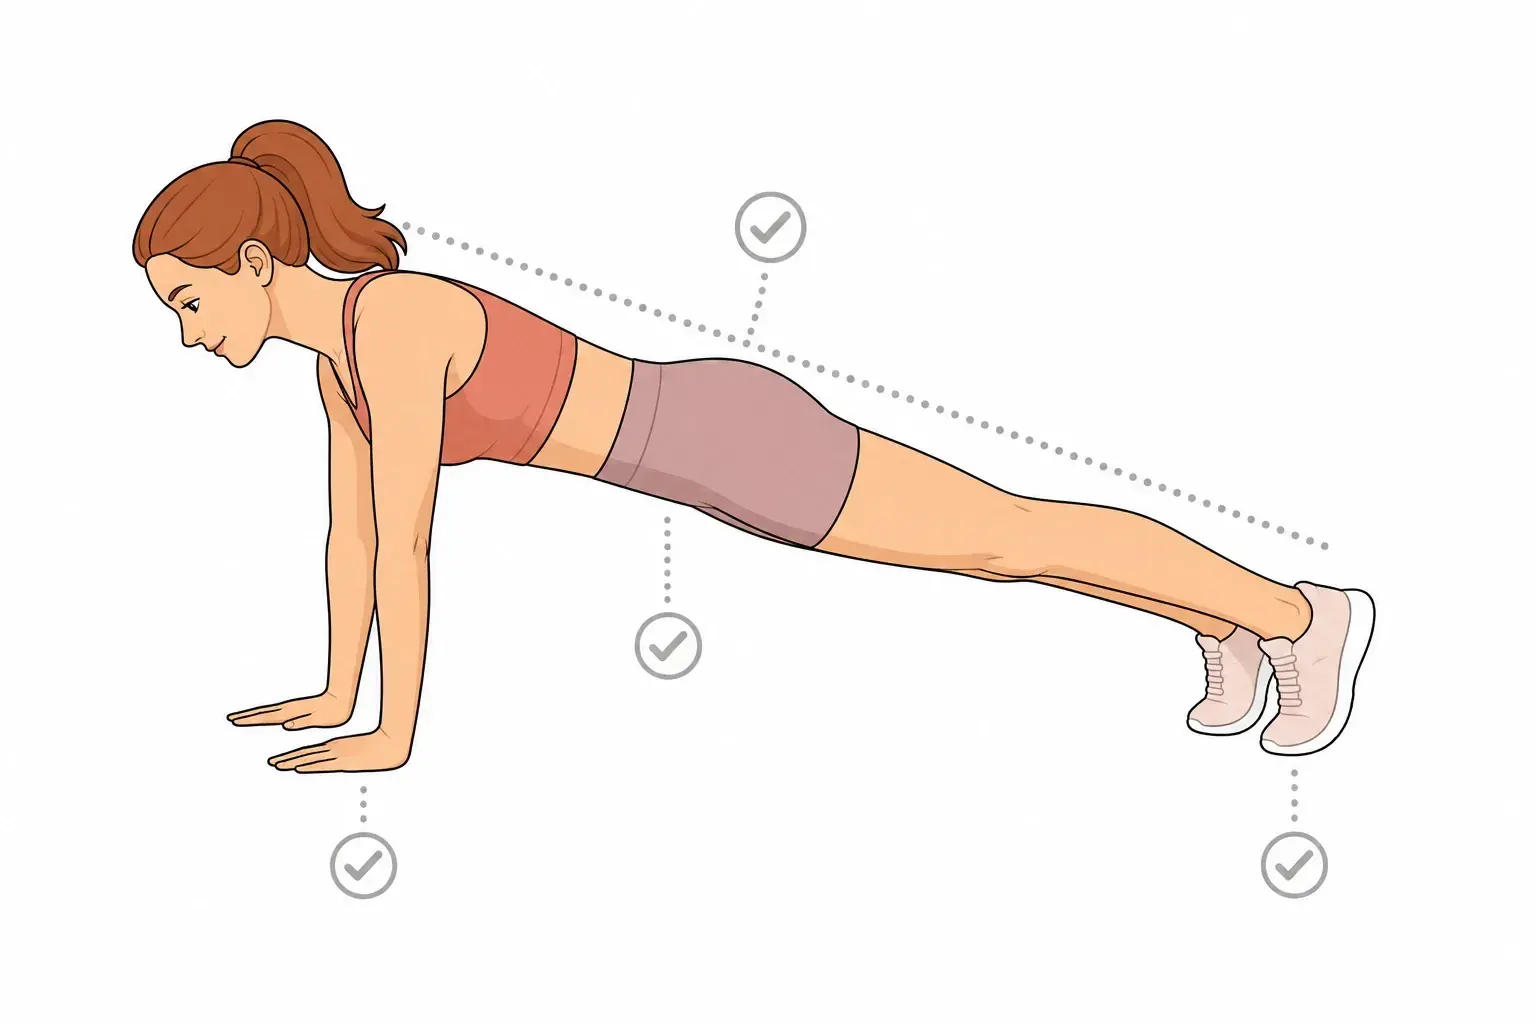
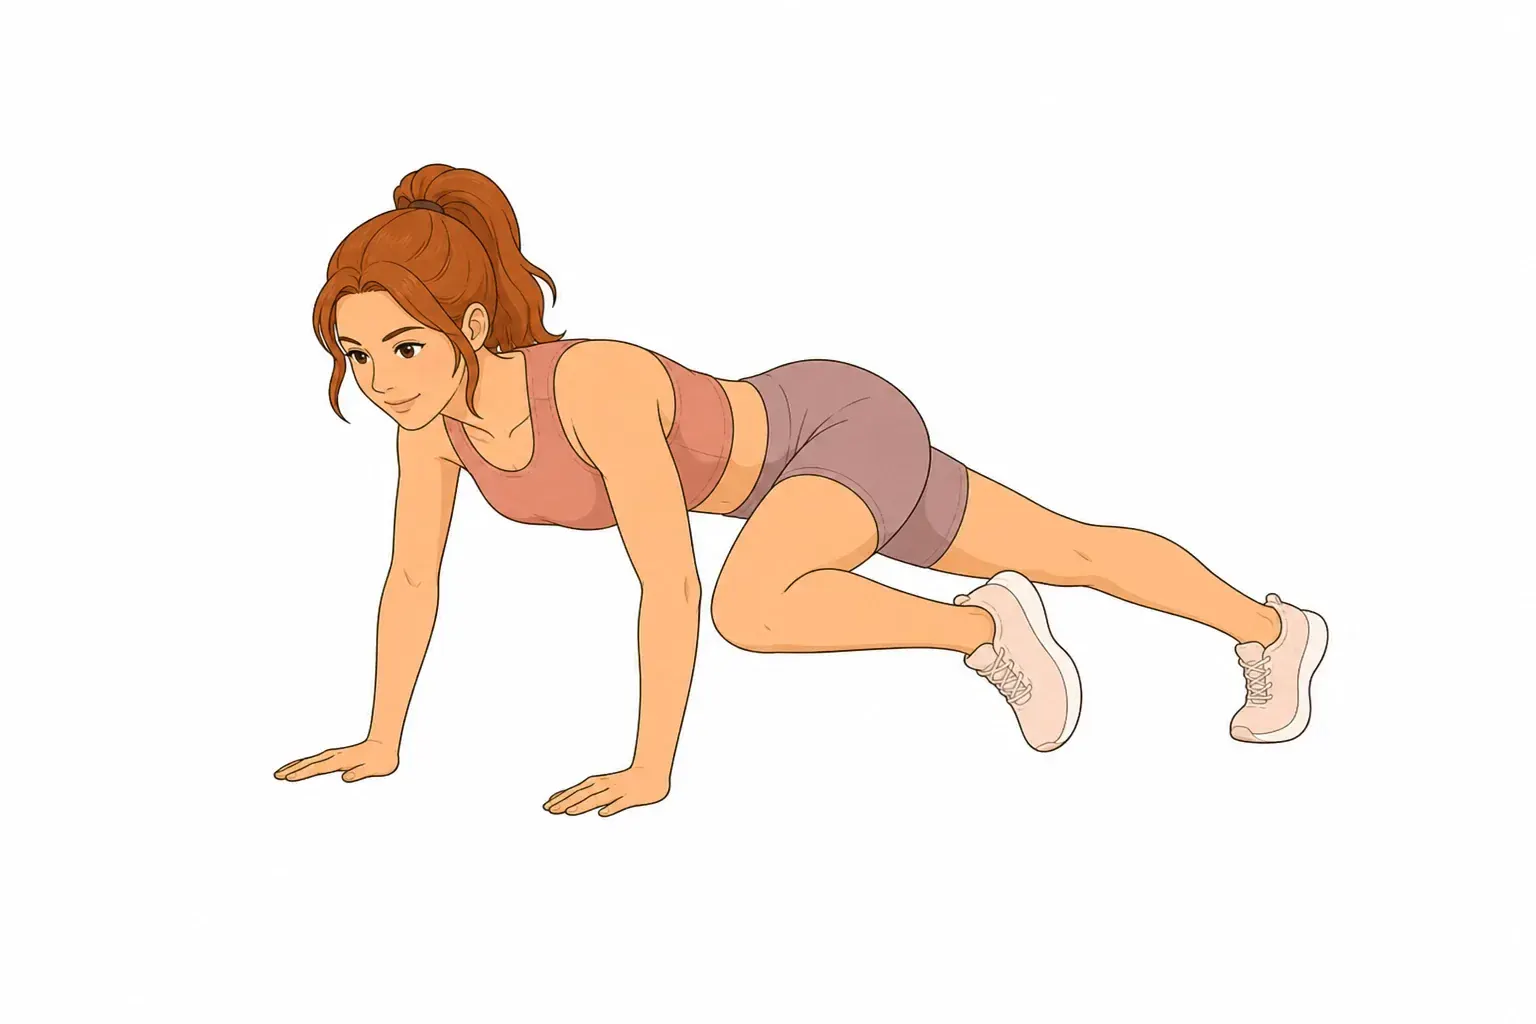
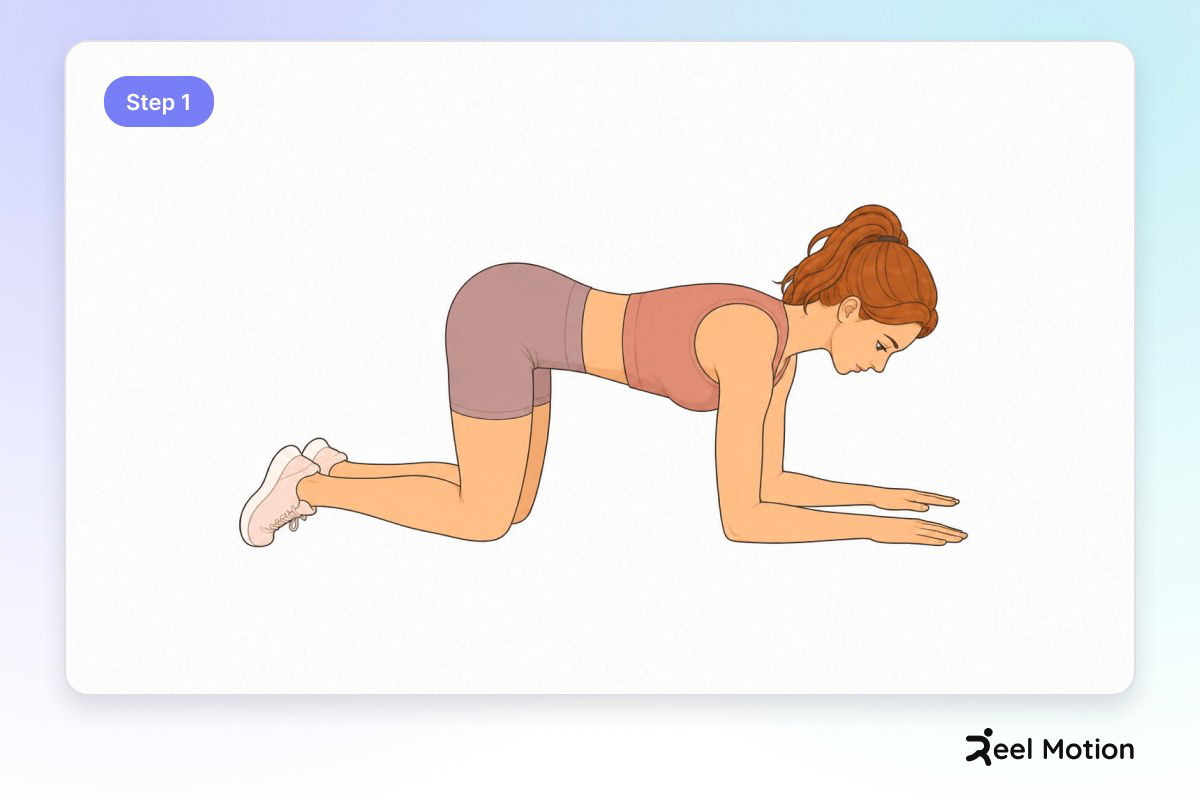
Kneel on the floor, place your forearms on the ground with elbows directly under your shoulders, and keep your forearms parallel to each other.
Step 2
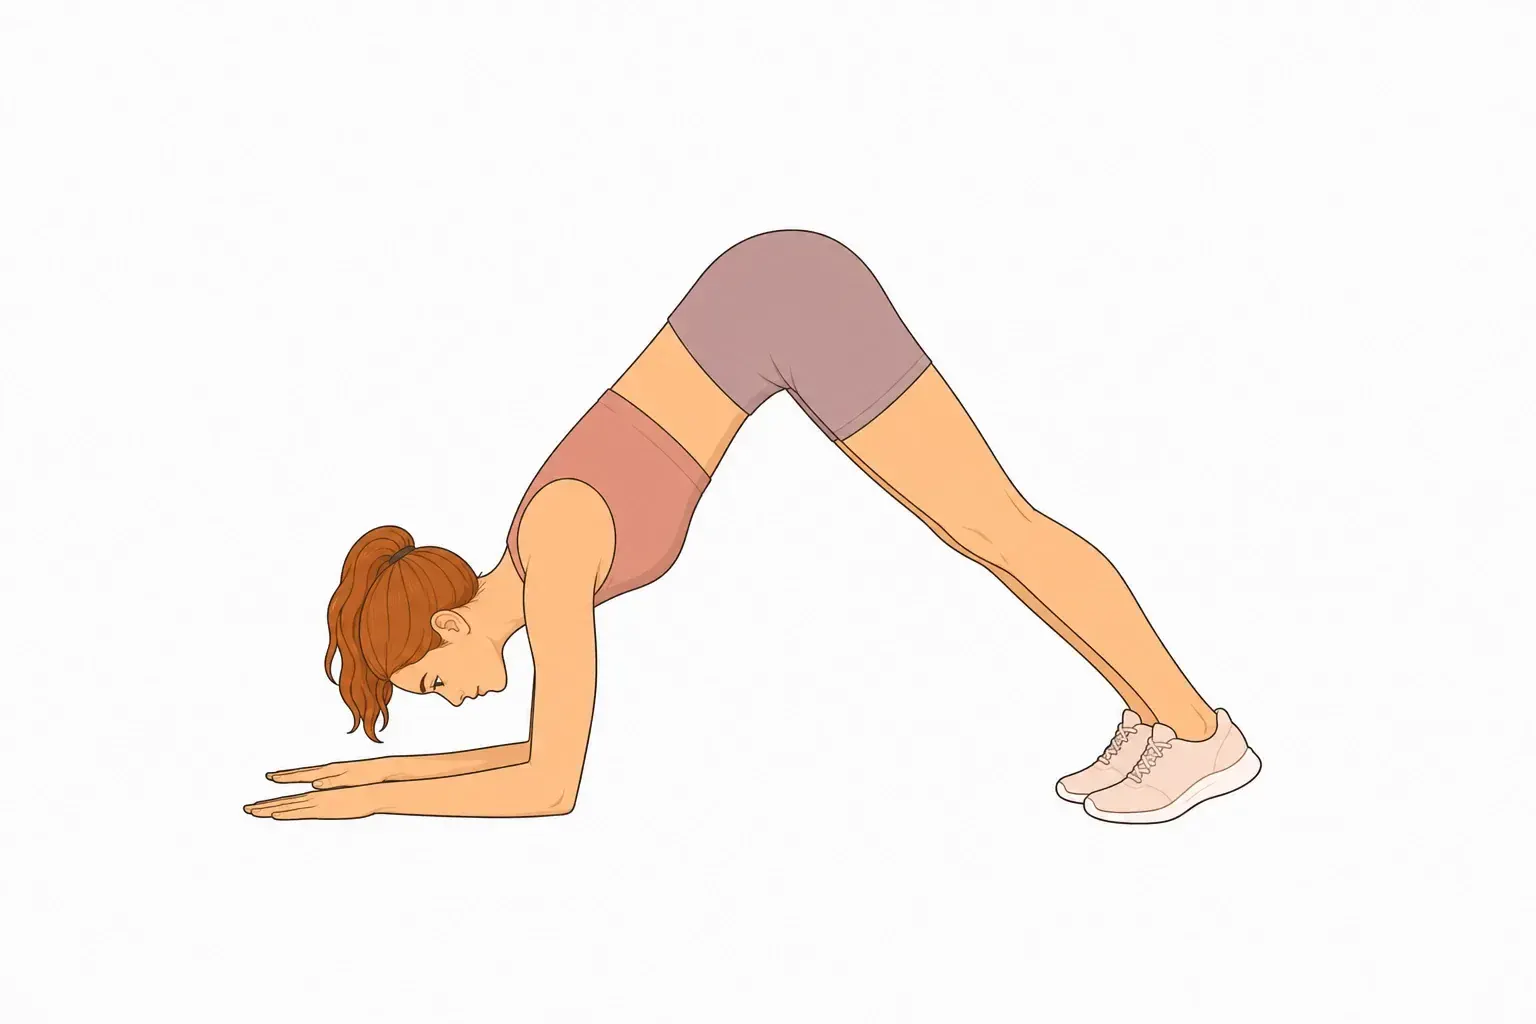
Tuck your toes, exhale, and lift your hips up and back to form an inverted V shape with your body; press your forearms firmly into the floor, draw your shoulders away from your ears, and let your heels reach toward the floor while bending your knees as needed to keep your spine long.

Form cues
- Elbows directly under shoulders
- Forearms parallel and shoulder-width apart
- Neutral spine before the lift
- Hips lifted high and back
- Forearms pressing firmly into the floor
- Shoulders drawn away from ears
- Spine long and neutral
- Heels reaching toward the floor
- Knees bent as needed to maintain spinal length
Common mistakes
Elbows splayed out to the sides. Draw elbows in so they sit directly under your shoulder joints.
Forearms angled inward or outward. Rotate forearms so they run parallel, not pigeon-toed or splayed.
Shoulders hunched toward ears. Relax shoulders down and back before lifting.
Hips sagging toward the floor. Engage your core and lift hips higher, creating a clear V shape.
Shoulders shrugging up toward ears. Press forearms down to draw shoulders back and away from your neck.
Elbows splaying outward under load. Keep elbows tracking under shoulders; do not let them splay.
Spine rounding or collapsing. Lengthen your spine by tilting your pelvis and engaging your core.
Heels forcing toward the floor with locked knees. Bend your knees generously to allow heels to lower without rounding your back.
Breathing
- Inhale to prepare.
- Breathe steadily and deeply throughout the pose.
How to program it
Reel Motion starts you at 1 sets of 45 sec, with 15 sec of rest in between, which comes to about 45 sec in total. Change the numbers before you change the technique.
| Sets | 1 |
|---|---|
| Time per set | 45 sec |
| Rest between sets | 15 sec |
| Total time | about 45 sec |
Safety
- Do not place elbows wider than shoulder-width; this strains the shoulder joint.
- Ensure your neck is neutral; do not crane your head forward.
- Do not force your heels to the floor if it rounds your spine; bend your knees instead.
- Avoid dropping your head between your arms; keep your neck neutral.
- Do not hold your breath; maintain steady breathing to prevent dizziness in this inversion.
Where it fits in your training
Once the last set still looks clean, Crow Pose is the next step up in the same pattern.