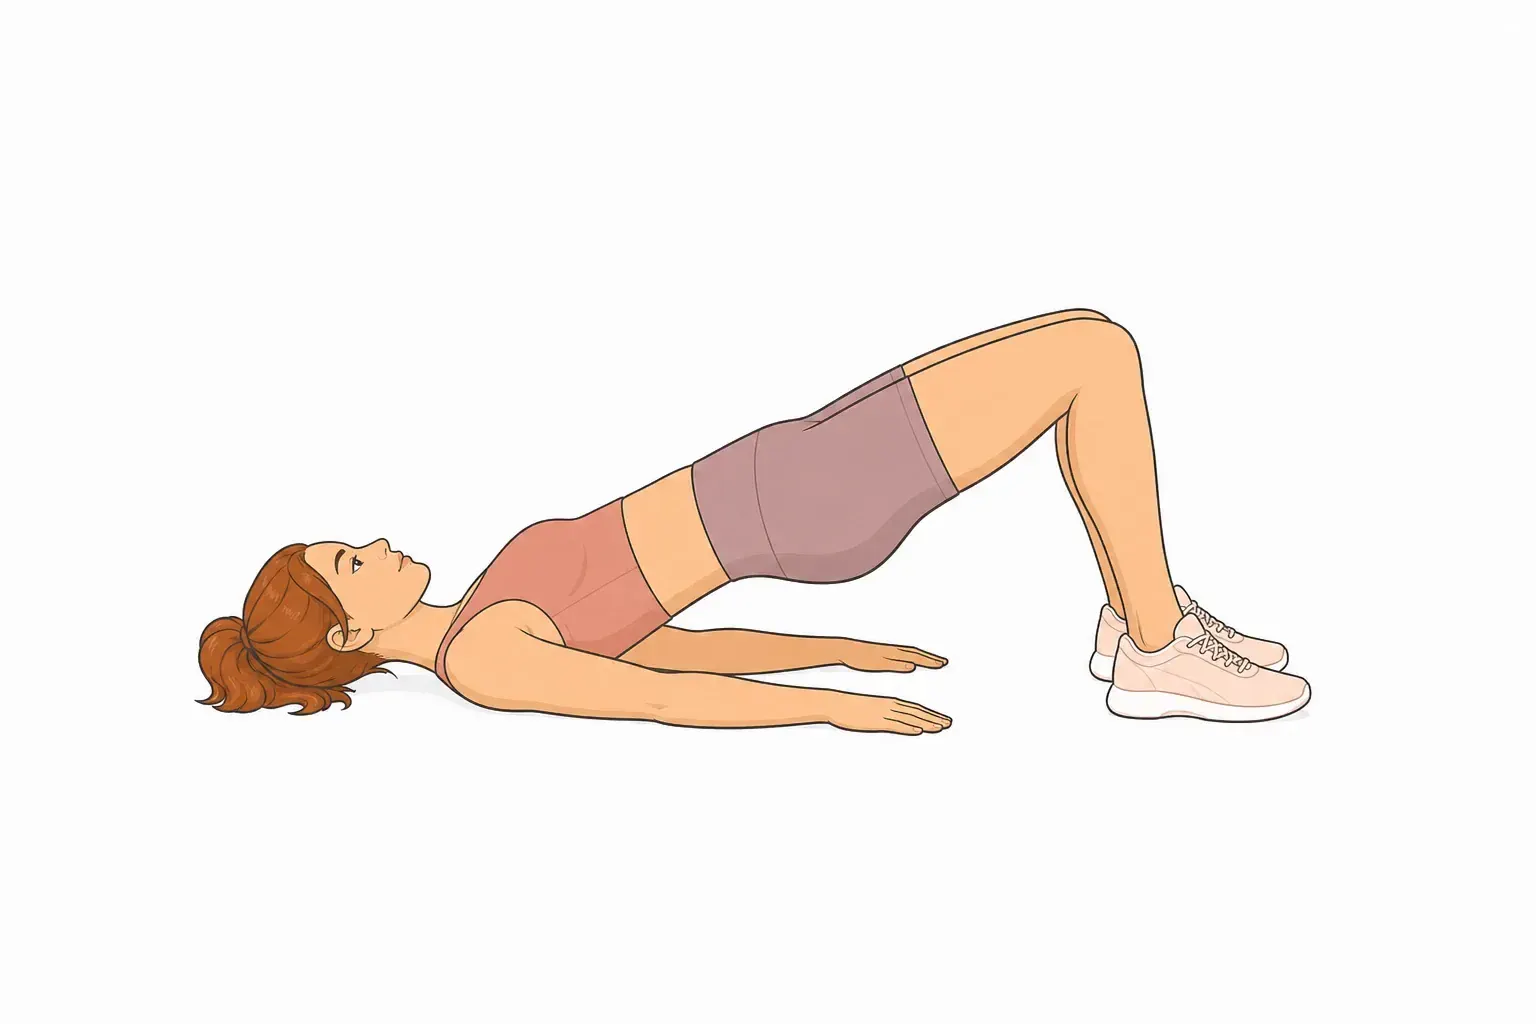

Glute Bridge is a beginner lower body exercise you can do with no equipment. Below is the full movement, step by step, with the form cues and common mistakes that matter most.
At a glance
| Body area | Lower body |
|---|---|
| Difficulty | Beginner |
| Equipment | None — bodyweight only |
| Main muscles | Gluteus maximus, hamstrings, erector spinae and core |
| Movement pattern | Hip extension and core strengthening |
| Steps | 3 |
Muscles worked
The work lands mainly on your gluteus maximus, with your hamstrings, erector spinae and core taking a share of it. That mix is what makes Glute Bridge worth keeping in a rotation rather than doing it once and forgetting it.
The pattern here is hip extension and core strengthening.
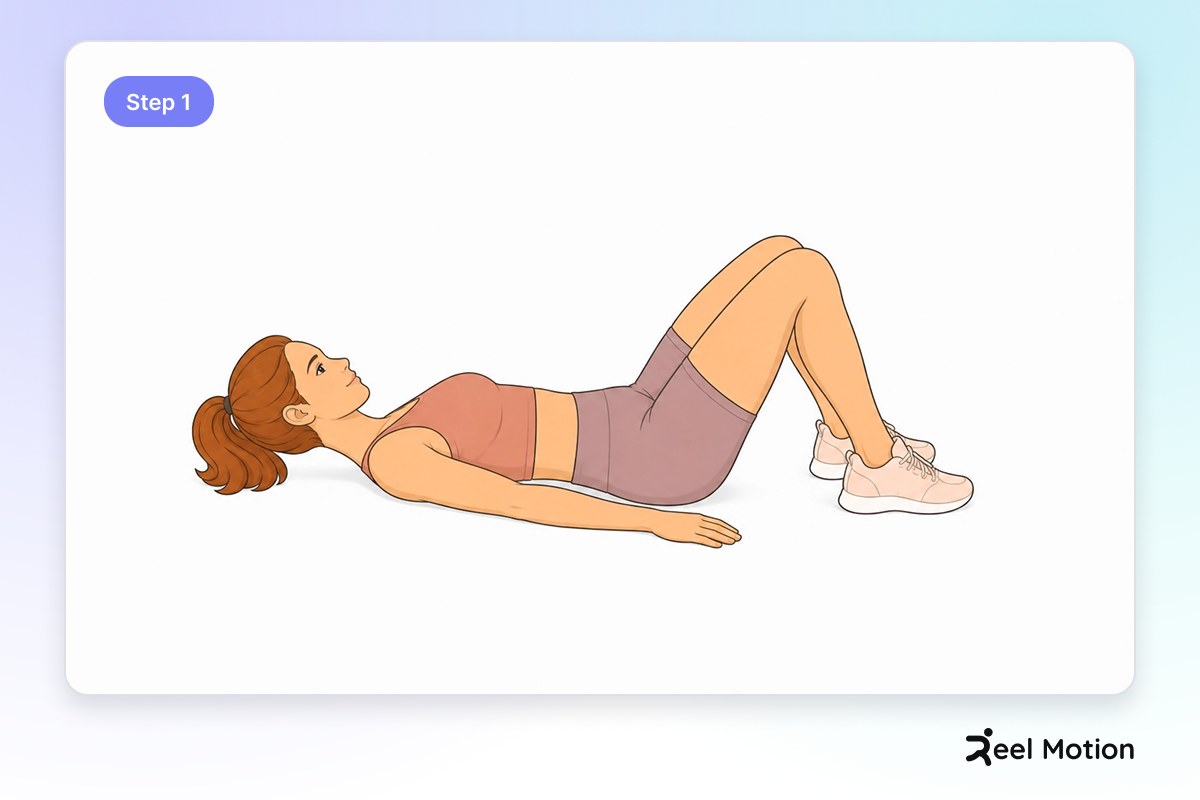
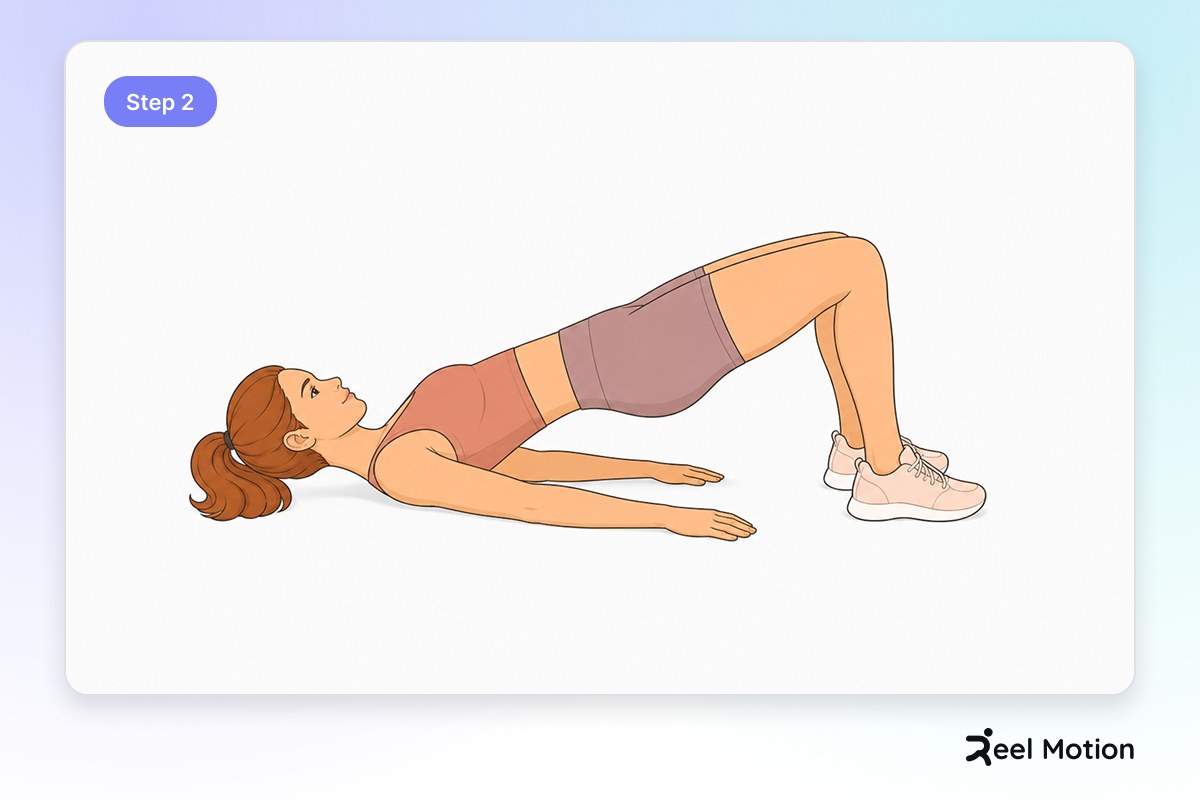
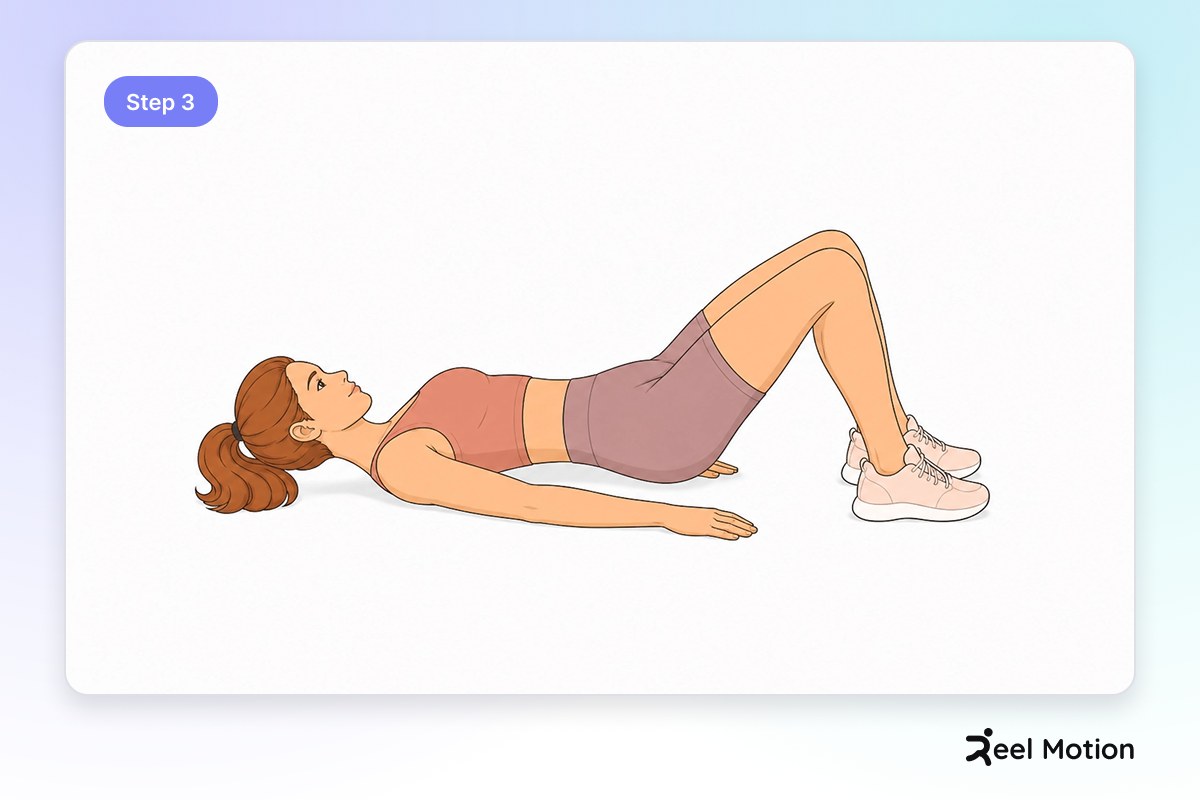
Lie on back with knees bent and feet flat. Push through heels to lift hips toward ceiling. Squeeze glutes at the top. Lower with control. Perform 10-15 repetitions.
How to do it
Step 1
Lie on your back with knees bent and feet flat on the floor, positioned hip-width apart.
Step 2
Push through your heels to lift your hips toward the ceiling, squeezing your glutes at the top.
Step 3
Lower your hips back down with control.
Form cues
- Knees bent at a comfortable angle
- Feet flat on floor
- Feet positioned hip-width apart
- Push through your heels
- Lift hips toward the ceiling
- Squeeze glutes at the top
- Keep your core engaged
- Lower with control and intention
- Keep heels on the floor throughout
Common mistakes
Feet too close together or too far apart. Position feet about hip-width apart for stability.
Heels lifting off the floor. Press heels firmly into the floor.
Pushing through toes instead of heels. Press your heels into the floor as you lift.
Hips not lifting high enough. Lift your hips until your body forms a straight line from knees to shoulders.
Lower back arching excessively. Engage your core to protect your lower back.
Dropping hips too quickly. Lower slowly and deliberately.
Losing control on the way down. Maintain tension in your glutes and core.
Breathing
- Exhale as you push through your heels and lift.
- Inhale as you lower your hips.
How to program it
Reel Motion starts you at 3 sets of 10, with 1 min of rest in between, which comes to about 1 min in total. Change the numbers before you change the technique.
| Sets | 3 |
|---|---|
| Reps per set | 10 |
| Rest between sets | 1 min |
| Total time | about 1 min |
Related exercises
More lower body movements in the Reel Motion library:
- Left Lunge with Rotation and Knee Drive — intermediate
- Right Lunge with Rotation and Knee Drive — intermediate
- Seated Hamstring Stretch (Left Leg) — beginner
- Seated Hamstring Stretch (Right Leg) — beginner