
Hollow Body Hold is a beginner core exercise you can do with no equipment. Below is the full movement, step by step, with the form cues and common mistakes that matter most.
At a glance
| Body area | Core |
|---|---|
| Difficulty | Beginner |
| Equipment | None — bodyweight only |
| Main muscles | Core, abs and shoulders |
| Movement pattern | Isometric and core |
| Steps | 2 |
Muscles worked
The work lands mainly on your core, with your abs and shoulders taking a share of it. That mix is what makes Hollow Body Hold worth keeping in a rotation rather than doing it once and forgetting it.
The pattern here is isometric and core. Follow it with a moving exercise in the same session and the workout stays balanced.
Gold standard for core control in calisthenics. Teaches total body tension and bracing. Start with tuck holds (knees bent, lower back pressed flat). Progress to one leg extended, then both legs extended. Maintain constant tension throughout.
How to do it
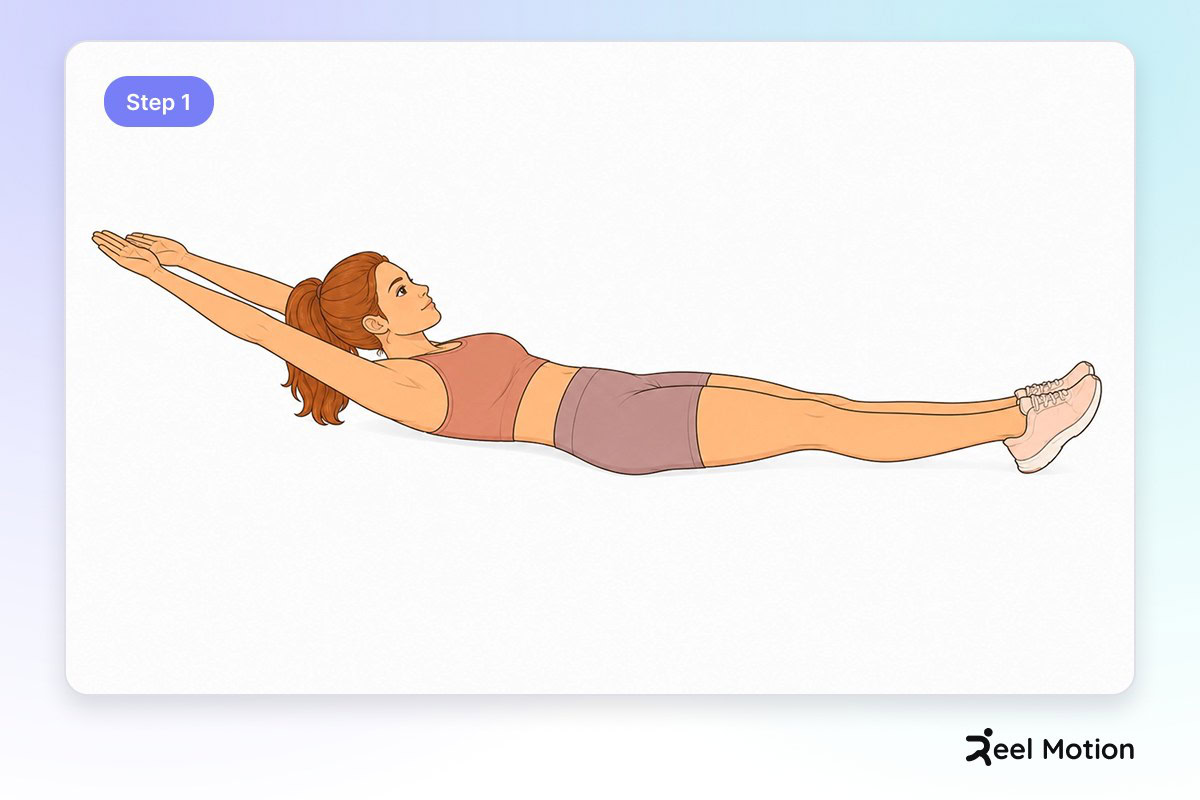
Step 1
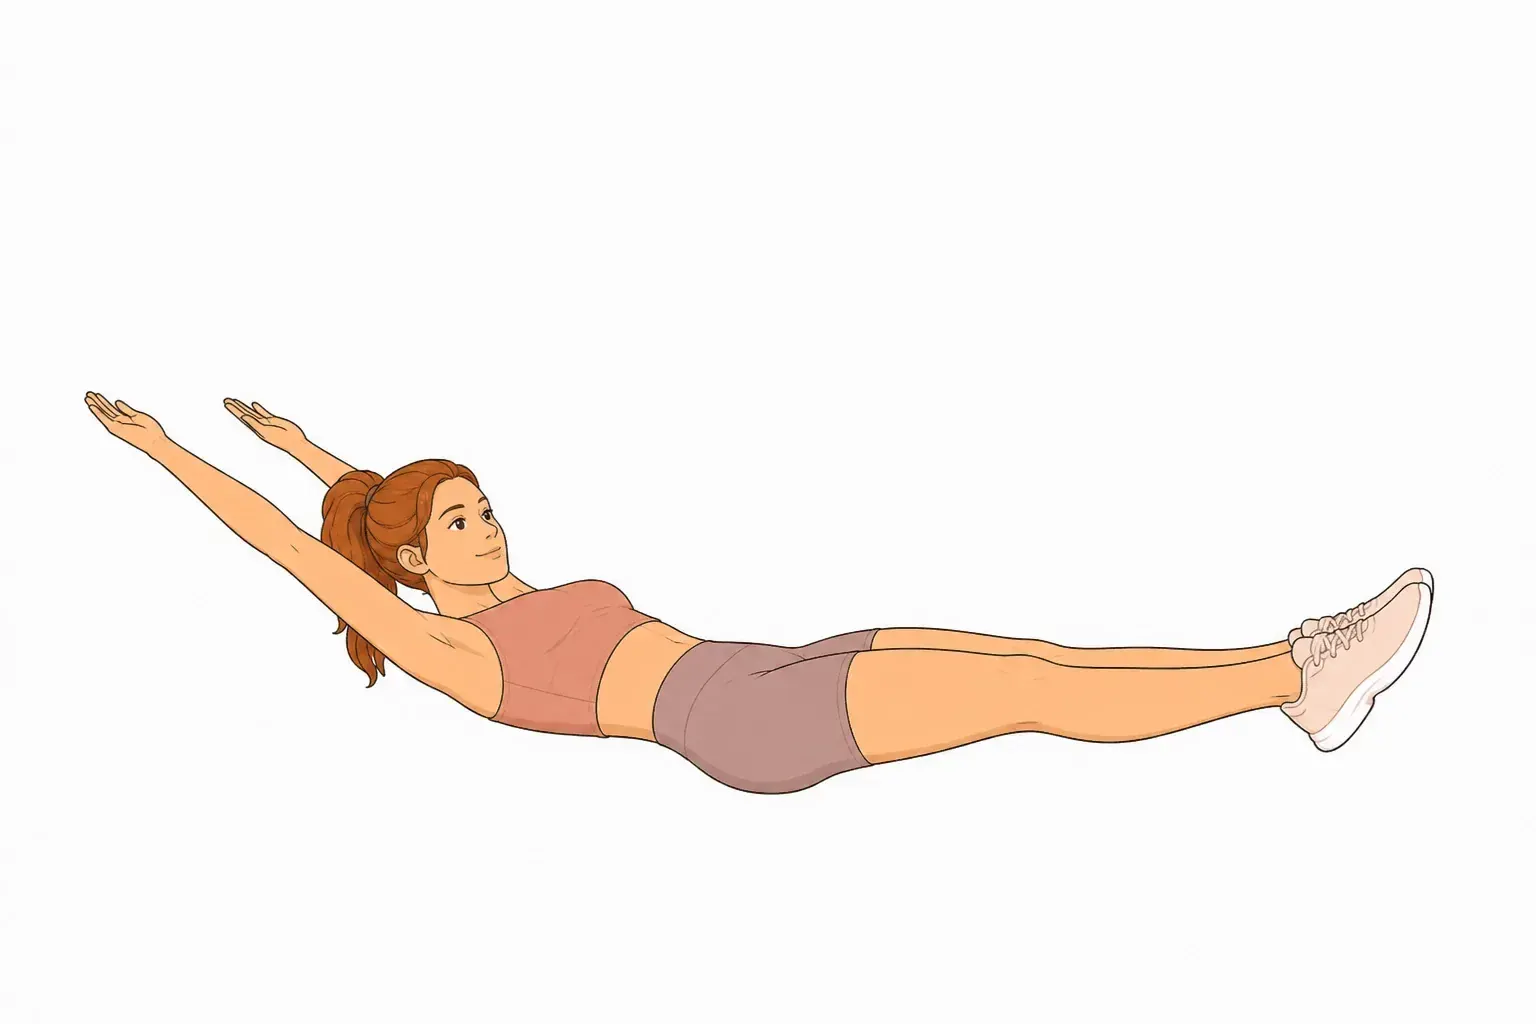
Lie on your back with your arms extended overhead and your legs straight, then engage your core and press your lower back flat against the floor by tucking your ribs and tightening your glutes.
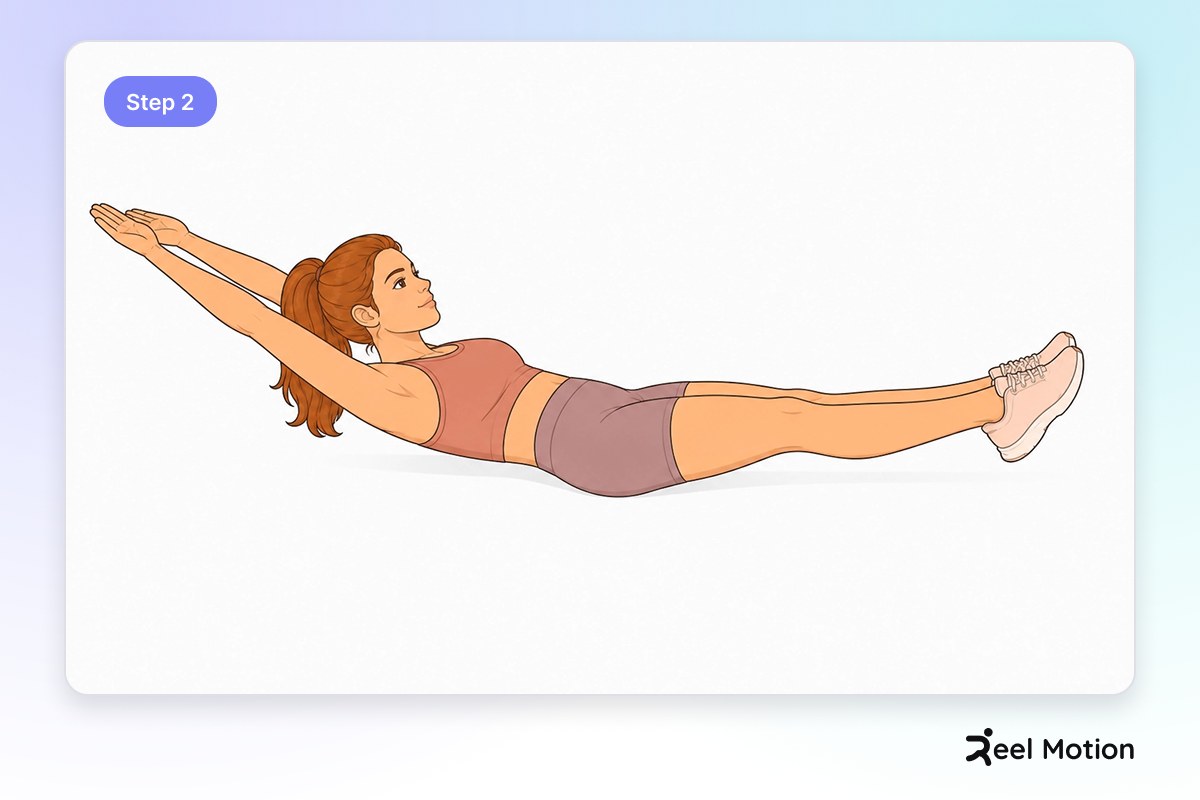
Step 2
Hold this hollow body position with constant tension, keeping your lower back flat, core engaged, and glutes tight throughout the entire hold.
Form cues
- Arms extended overhead
- Legs straight
- Lower back pressed flat against floor
- Ribs tucked
- Glutes tight
- Total body tension throughout
- Maintain hollow body position
- Constant tension throughout hold
- Lower back stays flat
- Core remains engaged
- Glutes stay tight
Common mistakes
Lower back arching off the floor. Press your lower back into the floor by engaging your core.
Ribs flaring out. Tuck your ribs down.
Glutes relaxed. Squeeze your glutes.
Shoulders shrugged. Relax your shoulders down and back.
Relaxing tension midway through. Maintain constant tension—do not relax.
Lower back arching. Keep your lower back pressed into the floor.
Losing body alignment. Stay in a tight, controlled position.
Breathing
Breathe steadily and maintain constant tension.
How to program it
Reel Motion starts you at 3 sets of 30 sec, with 45 sec of rest in between, which comes to about 3 min in total. Change the numbers before you change the technique.
| Sets | 3 |
|---|---|
| Time per set | 30 sec |
| Rest between sets | 45 sec |
| Total time | about 3 min |
Safety
- Do not allow your lower back to arch—maintain constant tension
Where it fits in your training
Once the last set still looks clean, Back Lever is the next step up in the same pattern. For a change at the same level, swap in Plank Shoulder Taps.
Related exercises
More core movements in the Reel Motion library:
- Front Lever — advanced
- Human Flag — advanced
- L-Sit — advanced
- Plank — beginner