
Mountain Climbers is a beginner lower body exercise you can do with no equipment. Below is the full movement, step by step, with the form cues and common mistakes that matter most.
At a glance
| Body area | Lower body |
|---|---|
| Difficulty | Beginner |
| Equipment | None — bodyweight only |
| Main muscles | Quadriceps, chest, hamstrings and shoulders |
| Movement pattern | Explosive |
| Steps | 2 |
Muscles worked
The work lands mainly on your quadriceps, with your chest, hamstrings and shoulders taking a share of it. That mix is what makes Mountain Climbers worth keeping in a rotation rather than doing it once and forgetting it.
The pattern here is explosive. Follow it with a slow, controlled lift in the same session and the workout stays balanced.
How to do it
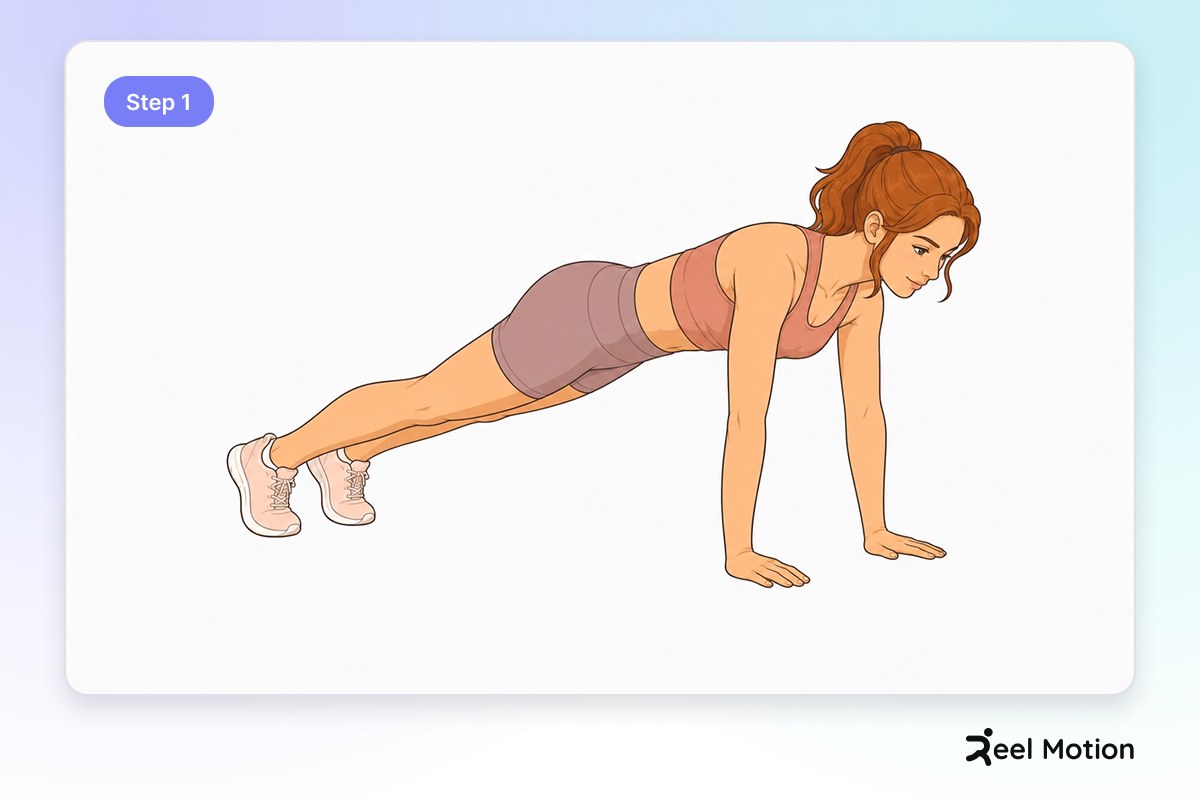
Step 1
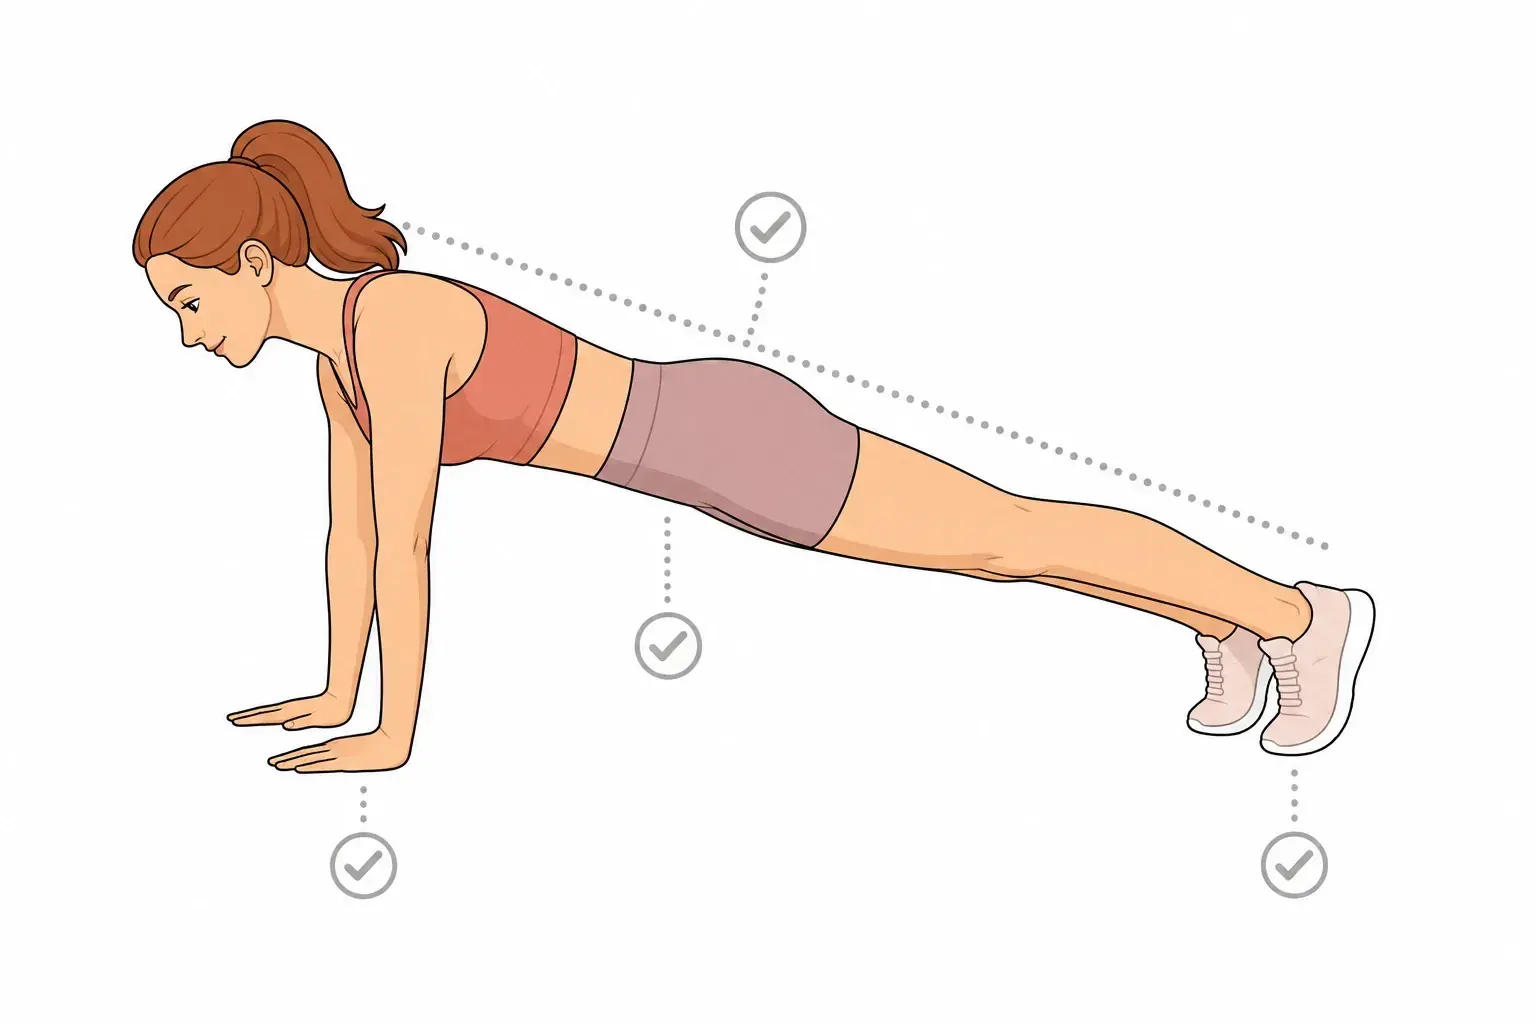
Set up in a high plank with your hands flat on the floor directly under your shoulders, fingers spread wide, and both legs extended straight behind you so your body forms a straight line from head to heels.
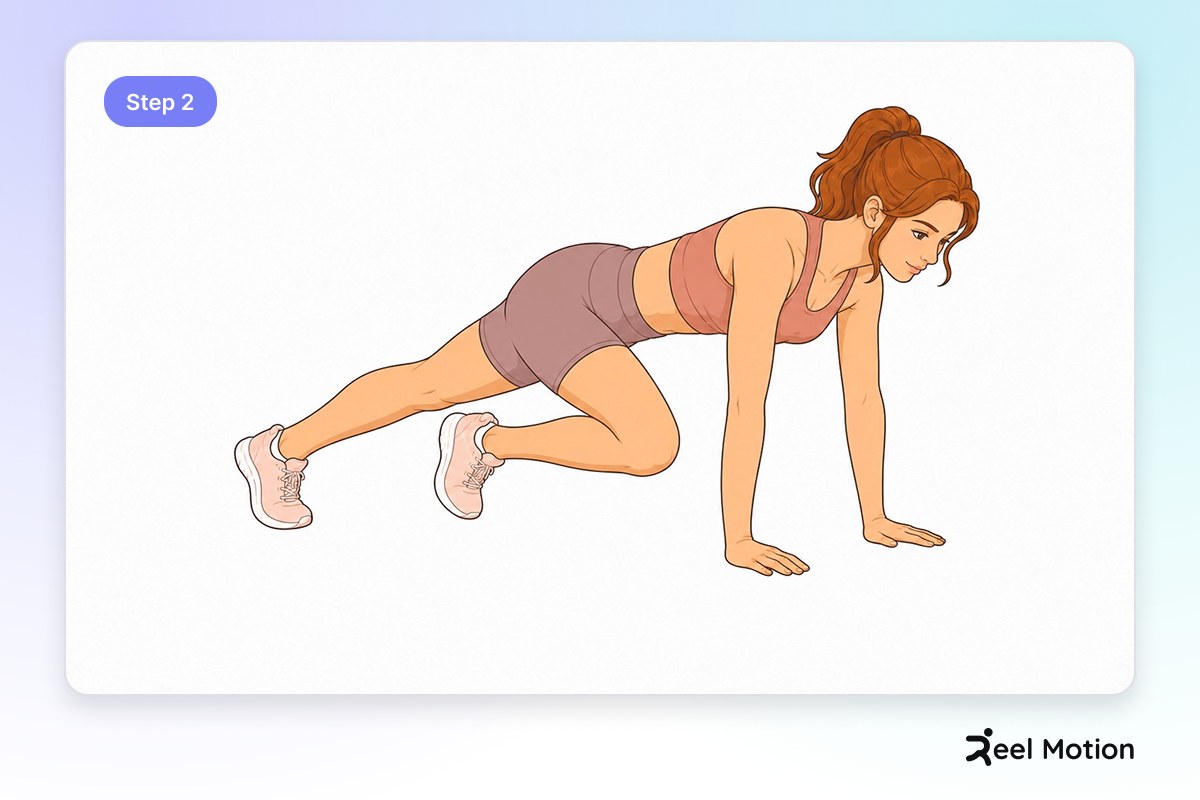
Step 2
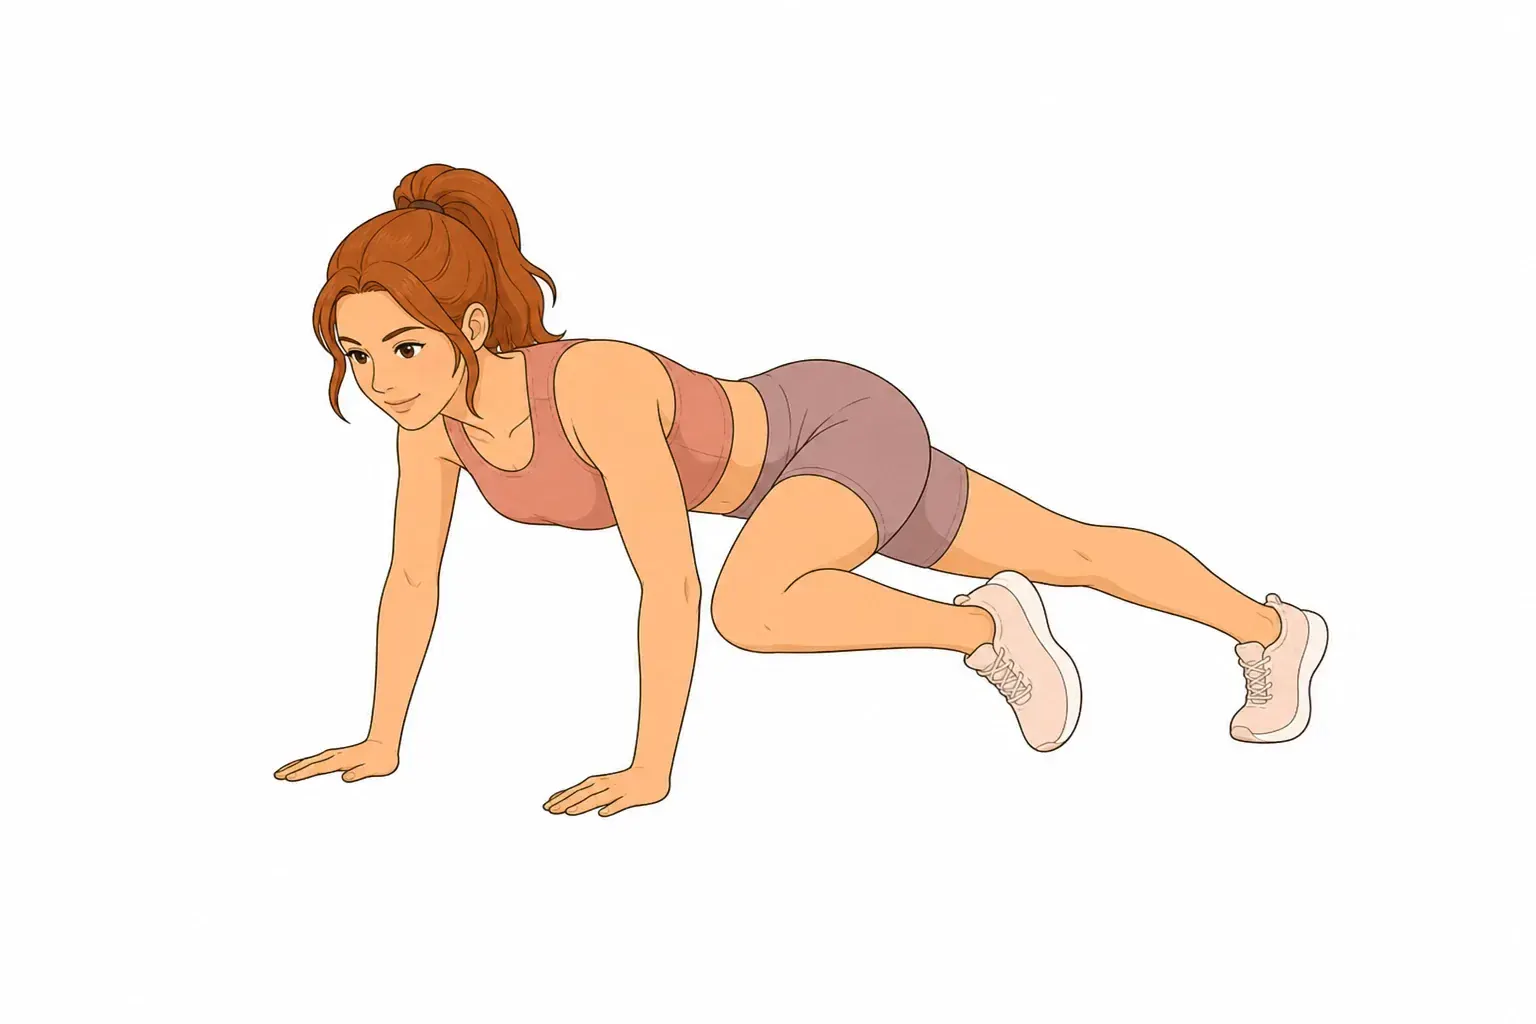
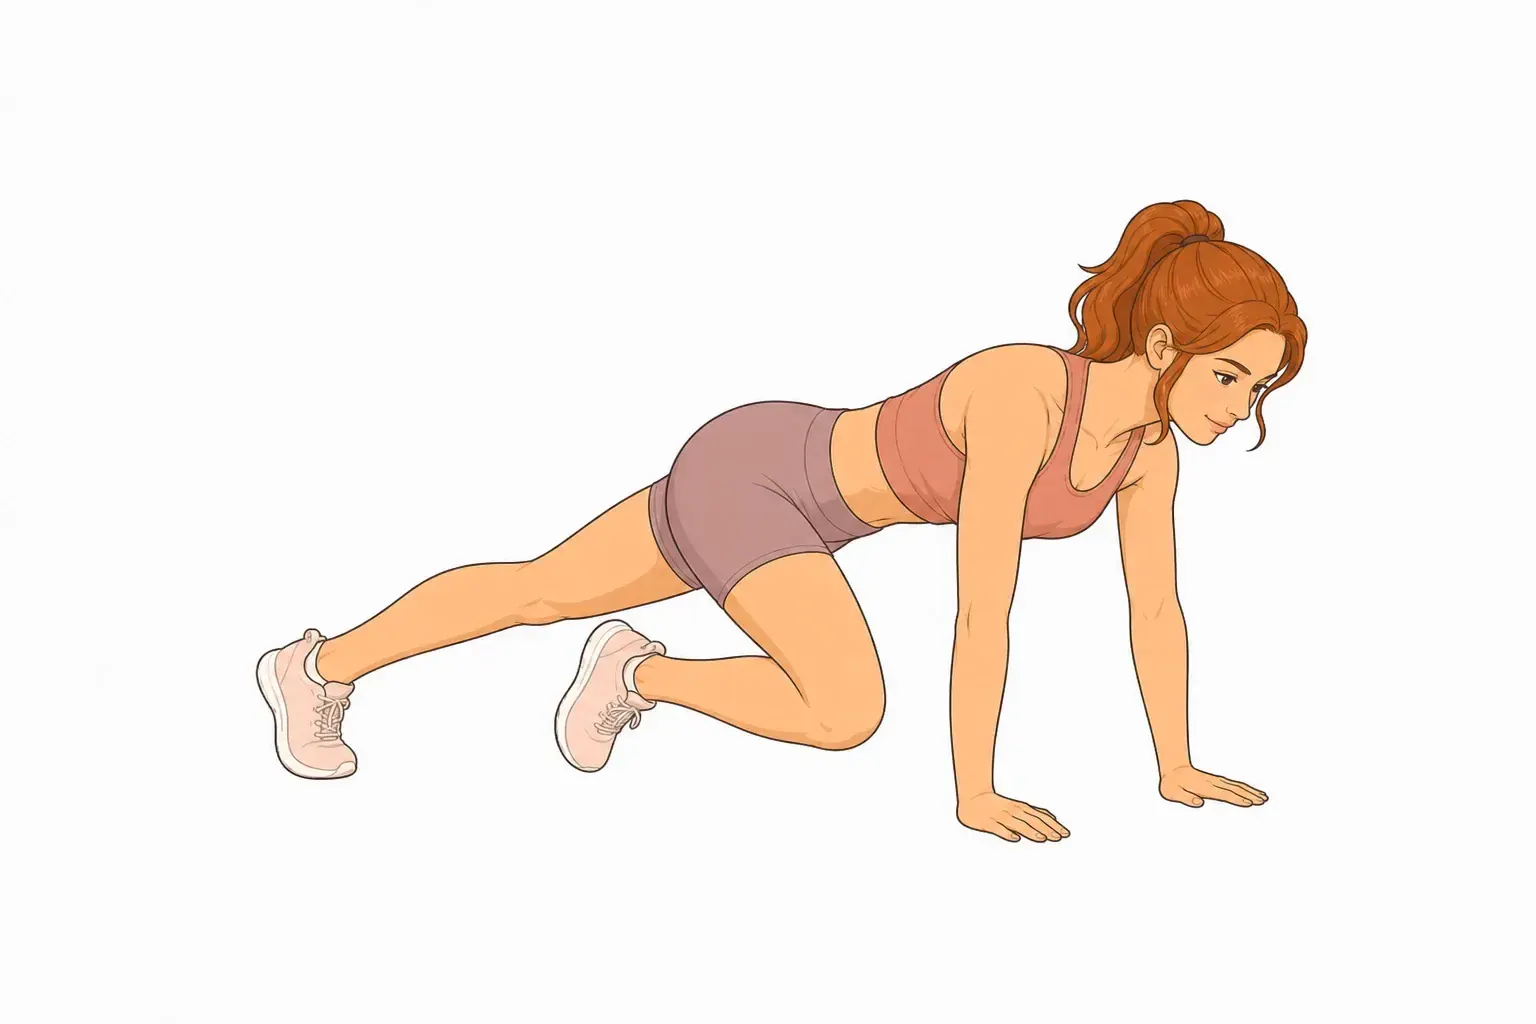
Brace your core and drive one knee forward toward your chest, lifting that foot clear of the floor while the other leg stays extended, then return it and immediately drive the opposite knee, keeping your hips level throughout.
Form cues
- Hands directly under the shoulders
- Fingers spread wide
- Body in a straight line from head to heels
- Core braced, hips level with the shoulders
- Drive the knee high toward the chest
- Lift the foot fully clear of the floor
- Keep the hips level with the shoulders
- Shoulders stay stacked over the wrists
Common mistakes
Hips sagging or rising too high. Engage your core and keep your hips level with your shoulders.
Shoulders hunched or rolled forward. Press your shoulders back and down, away from your ears.
Head dropping below shoulder line. Keep your head neutral, eyes looking slightly forward.
Hips bouncing or rotating side to side. Keep your hips stable and level; engage your core to prevent rotation.
Shoulders drifting forward or backward. Maintain shoulders directly over wrists throughout the movement.
Losing plank alignment as speed increases. Slow down if form breaks; quality over speed.
Knees not coming high enough toward the chest. Drive each knee up with intention toward your chest.
Breathing
Breathe steadily and rhythmically; exhale as you drive your legs.
Safety
- Ensure wrists are stable and aligned under shoulders to prevent strain.
- Do not let your lower back sag—maintain neutral spine throughout.
- Stop immediately if you feel wrist, shoulder, or lower back pain.
- Perform on a padded surface to reduce impact on wrists and hands.
Where it fits in your training
For a change at the same level, swap in Star Jump.
Related exercises
More lower body movements in the Reel Motion library:
- Carioca Quick Step — beginner
- Double Leg Butt Kick — beginner
- Fast Skipping — beginner
- Knee Tuck Jump — beginner