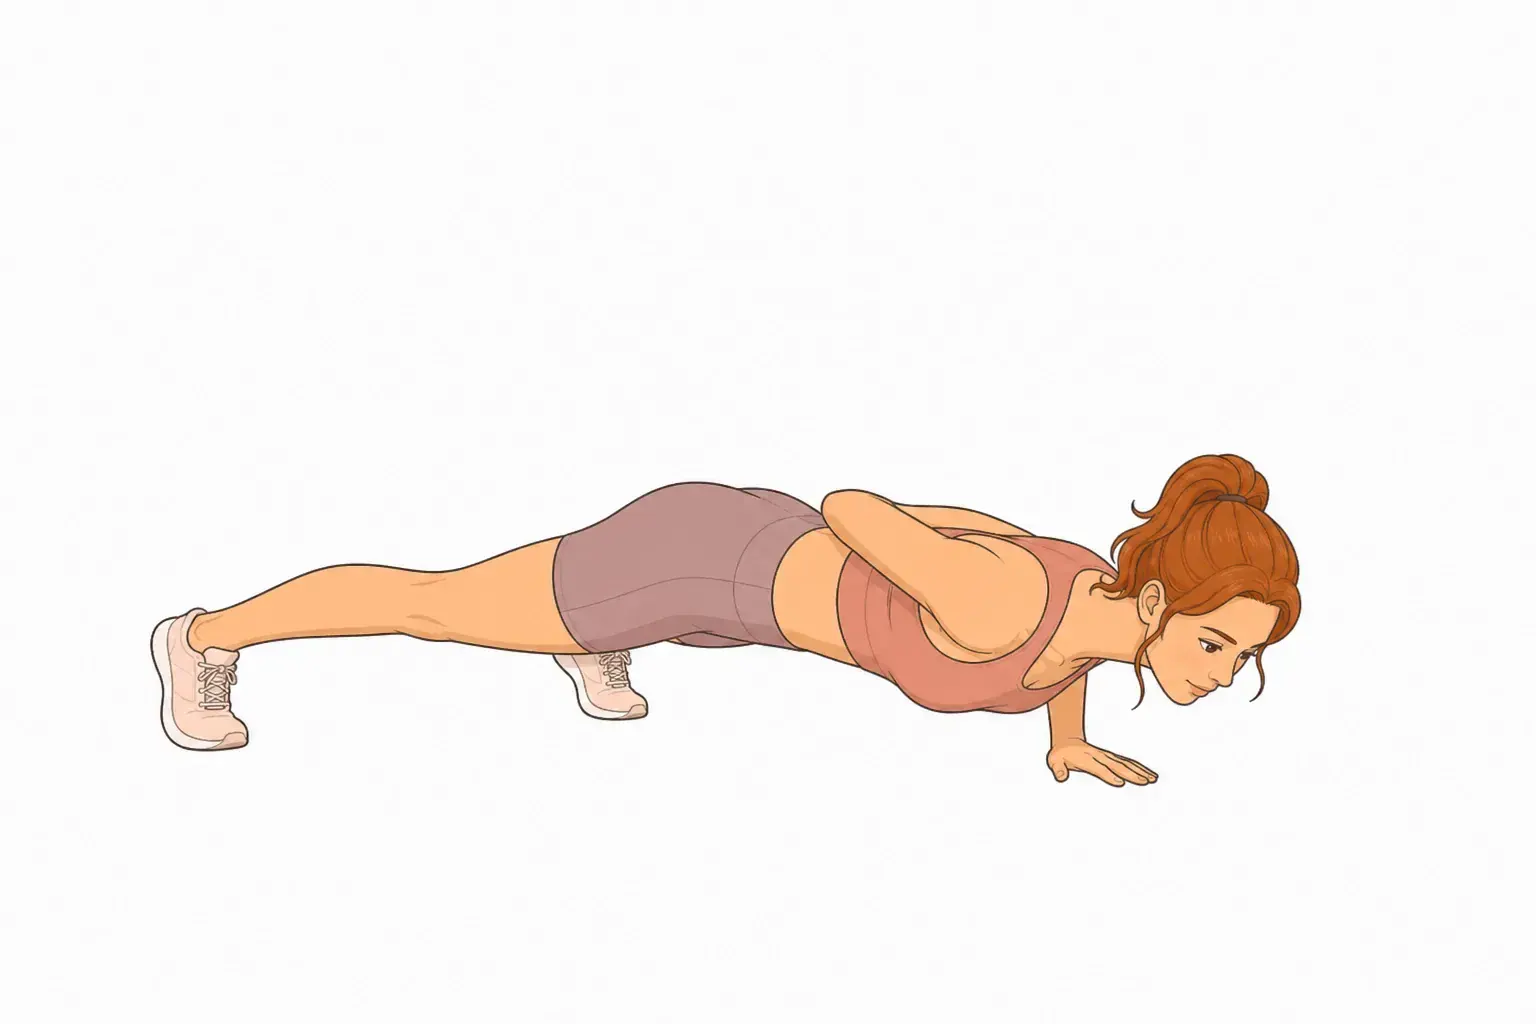

Single-Arm Push-Up is an intermediate upper body exercise you can do with no equipment. Below is the full movement, step by step, with the form cues and common mistakes that matter most.
At a glance
| Body area | Upper body |
|---|---|
| Difficulty | Intermediate |
| Equipment | None — bodyweight only |
| Main muscles | Chest, shoulders and triceps |
| Movement pattern | Push |
| Trained | One side at a time |
| Steps | 2 |
Muscles worked
The work lands mainly on your chest, with your shoulders and triceps taking a share of it. That mix is what makes Single-Arm Push-Up worth keeping in a rotation rather than doing it once and forgetting it.
Because you train one side at a time, your core has to stop your hips and shoulders twisting on every rep, and any strength gap between your left and right side shows up immediately instead of being hidden by the stronger side.
The pattern here is push. Follow it with a pulling movement in the same session and the workout stays balanced.
How to do it
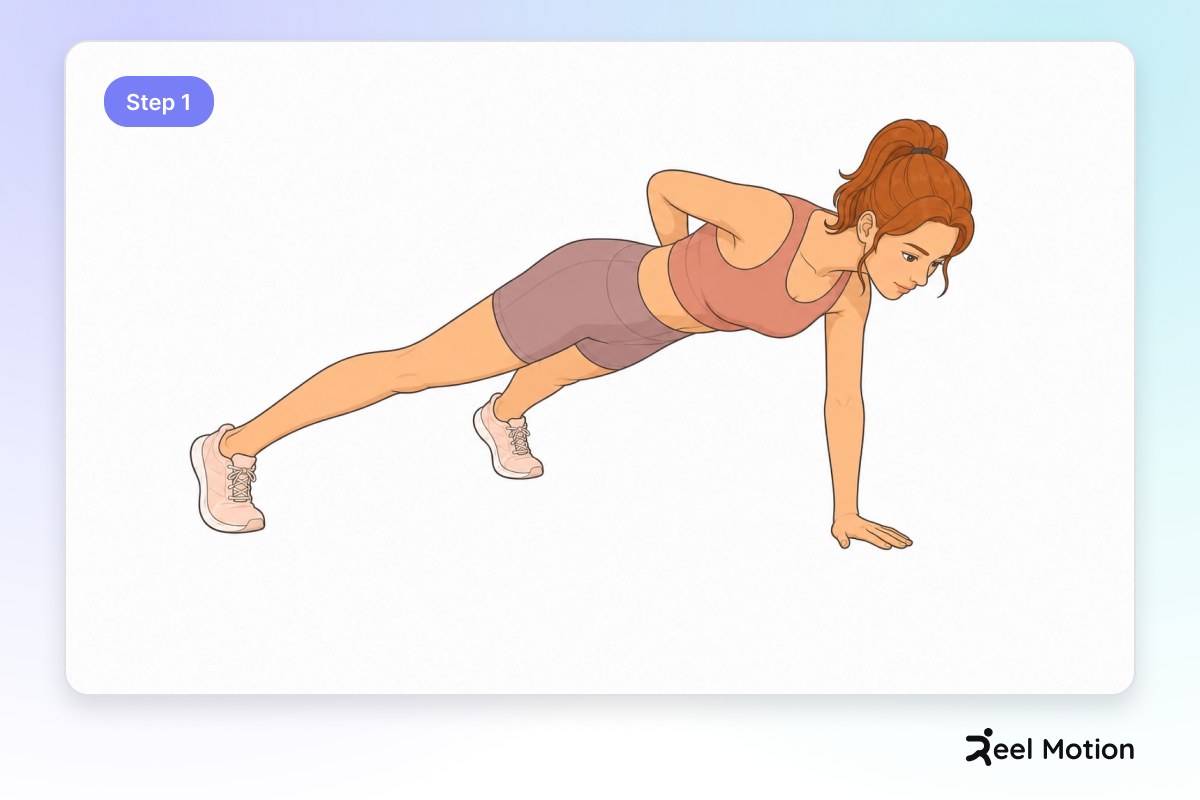
Step 1
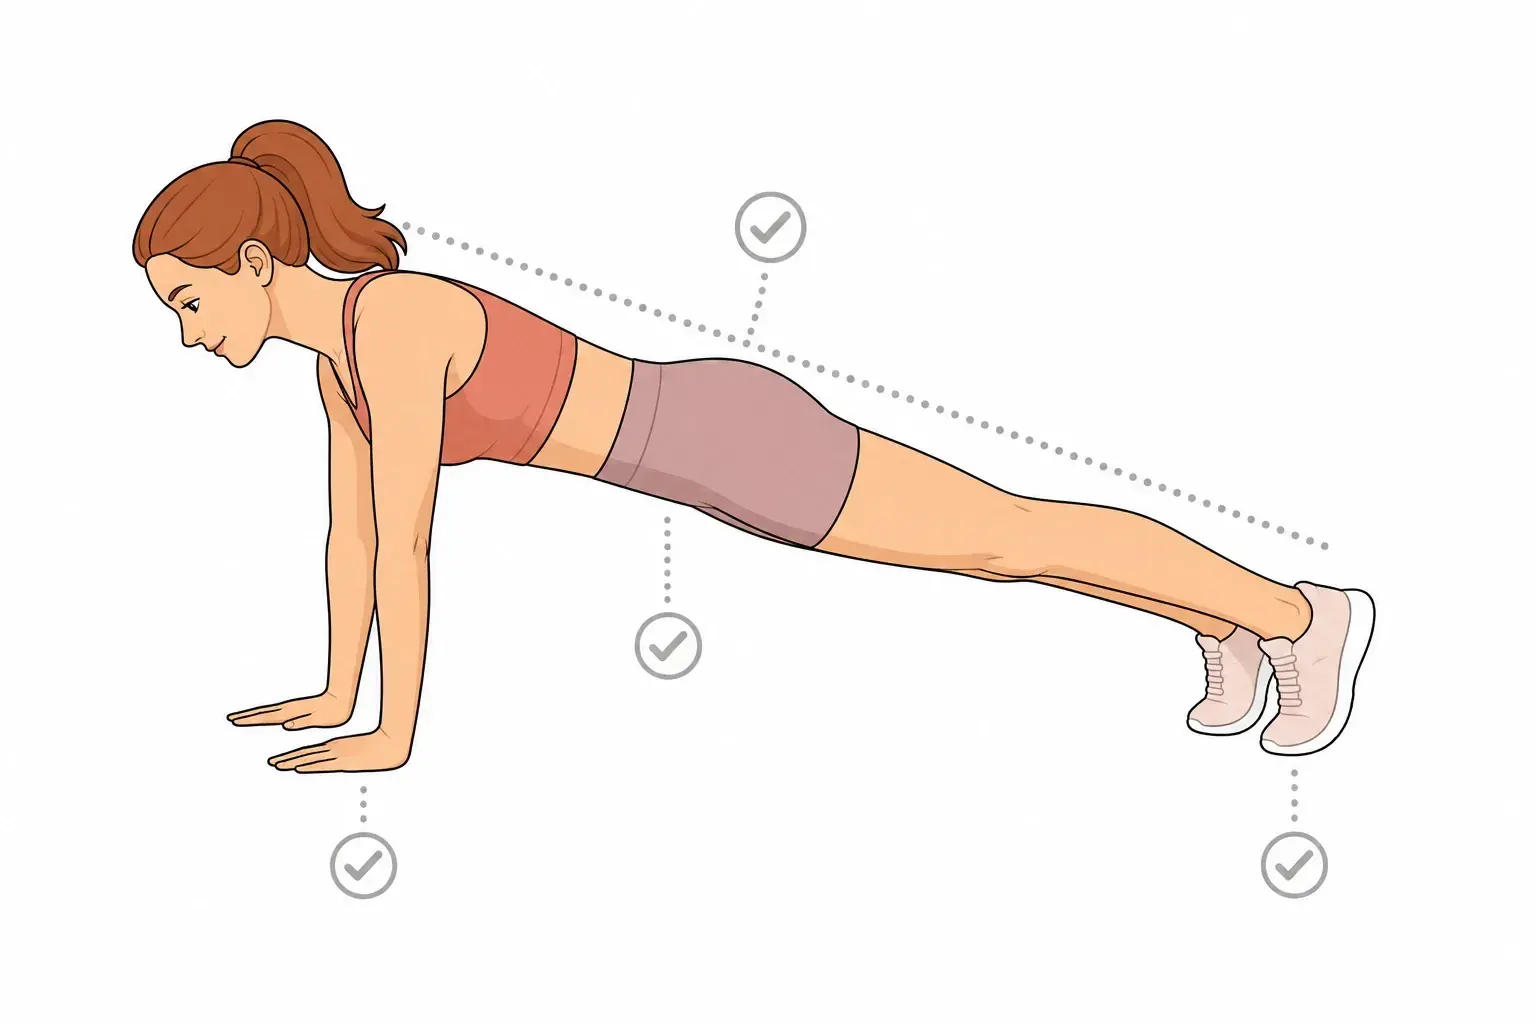
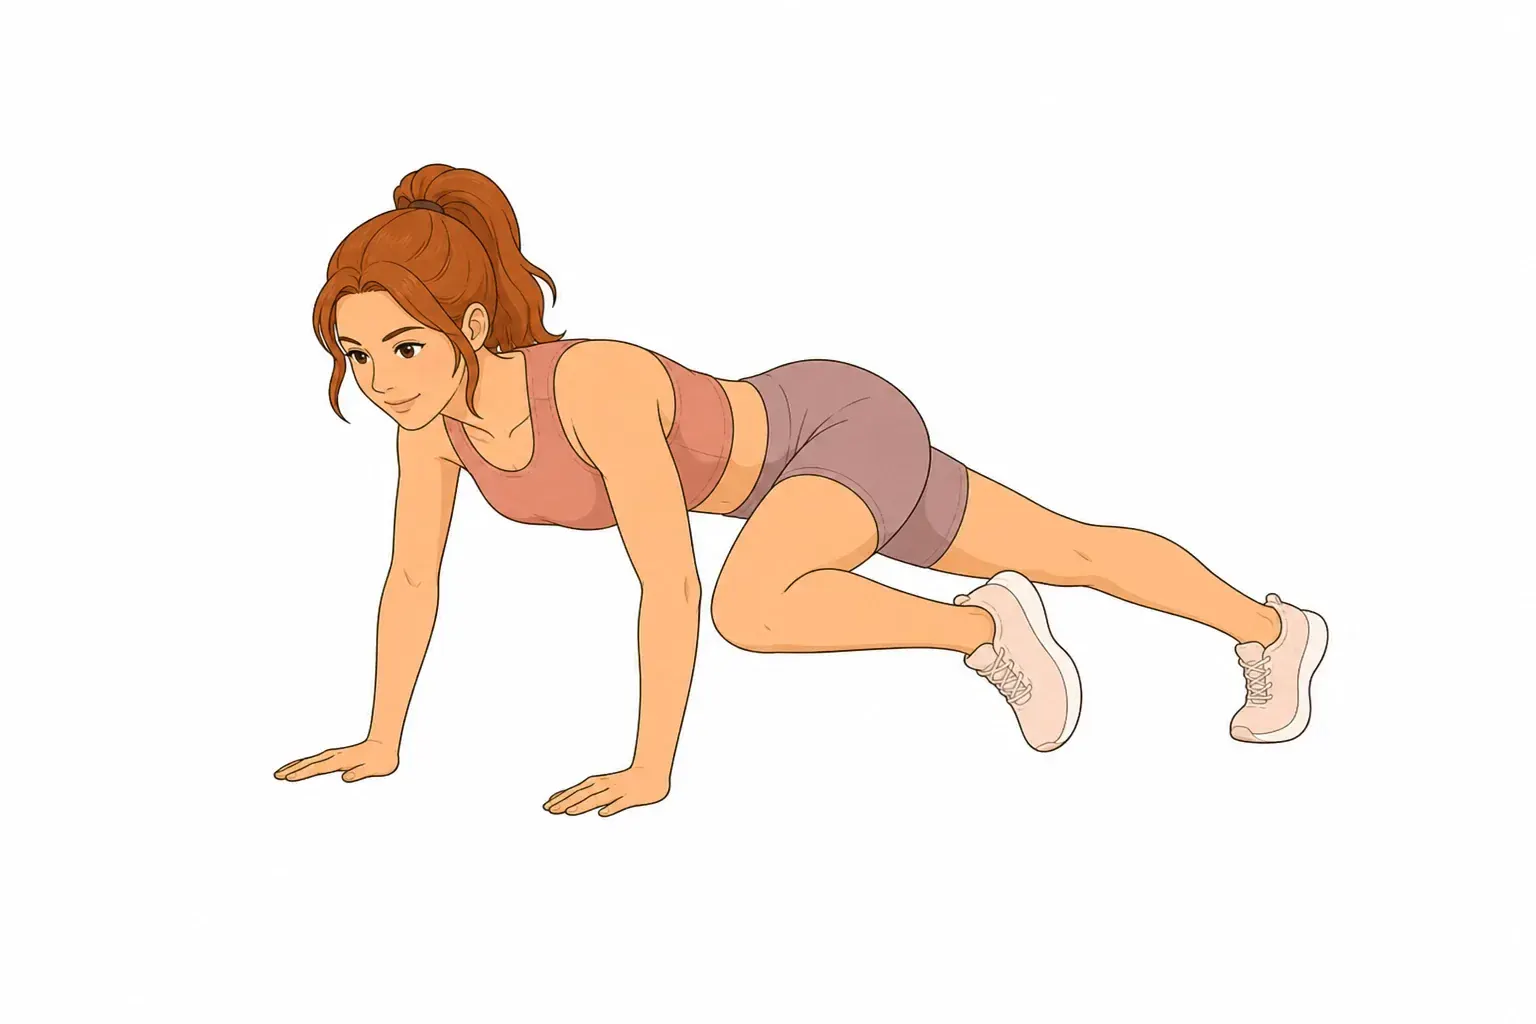
Lie face-down on the ground, then push yourself up onto your toes and one arm, placing your working arm directly under your shoulder with elbow fully extended. Position your feet wider than shoulder-width apart for stability, and place your free hand behind your back.
Step 2
Lower yourself by bending your elbow until your chest touches the ground, keeping your body aligned and your core tight.

Form cues
- Working arm directly under shoulder
- Elbow fully extended
- Feet wider than shoulder-width
- Free hand behind back
- Body in a straight line from head to heels
- Elbow bends at a controlled pace
- Chest descends toward the ground
- Core remains engaged
- Body stays in a straight line
- Arm extends fully
- Elbow straightens completely
- Core stays tight
- Body remains in a straight line
- Shoulder stays stable
Common mistakes
Hips sagging or rotating. Engage your core and keep hips level with your shoulders.
Shoulder rolled forward. Roll your shoulder back and down, away from your ear.
Feet too close together. Widen your stance to improve lateral stability.
Working arm angled away from body. Position your arm so your hand is directly beneath your shoulder joint.
Lowering too quickly or dropping. Descend slowly with control, taking 2–3 seconds to reach the bottom.
Hips sagging or rotating during descent. Maintain a neutral spine and keep hips level with your shoulders.
Elbow flaring out to the side. Keep your elbow tracking close to your ribs.
Shoulder collapsing inward. Press your shoulder blade back and down to stabilize your shoulder.
Pressing too quickly or explosively. Press with steady, controlled power over 1–2 seconds.
Hips sagging at the top. Keep your hips level and core engaged throughout the press.
Elbow locking out abruptly. Maintain a soft bend at the elbow at the top; do not lock out.
Shoulder shrugging toward ear. Keep your shoulder packed down and back.
Breathing
- Inhale as you settle into position.
- Exhale as you lower yourself.
How to program it
Reel Motion starts you at 3 sets of 10 per side, with 1 min of rest in between, which comes to about 3 min 30 sec in total. Match the reps on your weaker side first, then give the stronger side the same number and no more.
| Sets | 3 |
|---|---|
| Reps per set | 10 per side |
| Rest between sets | 1 min |
| Total time | about 3 min 30 sec |
Safety
- A wider stance is essential for stability on one arm; do not use a narrow base
- Keep your core engaged throughout to prevent spinal rotation
- Control the descent to avoid sudden stress on your shoulder and elbow
- Do not allow your hips to rotate or sag, as this compromises stability and increases injury risk
- Do not lock your elbow at the top; maintain a slight bend for joint safety
- Maintain core tension to prevent spinal rotation and protect your lower back
Where it fits in your training
If Single-Arm Push-Up is more than you can hold form on right now, build up with Decline Push-Up first. Once the last set still looks clean, Planche Leans is the next step up in the same pattern. For a change at the same level, swap in Archer Push-Up.
Related exercises
More upper body movements in the Reel Motion library:
- Dips – Triceps Version — beginner
- Full Pushup — intermediate
- Incline Push-Up — beginner
- Kneeling Pushups — intermediate