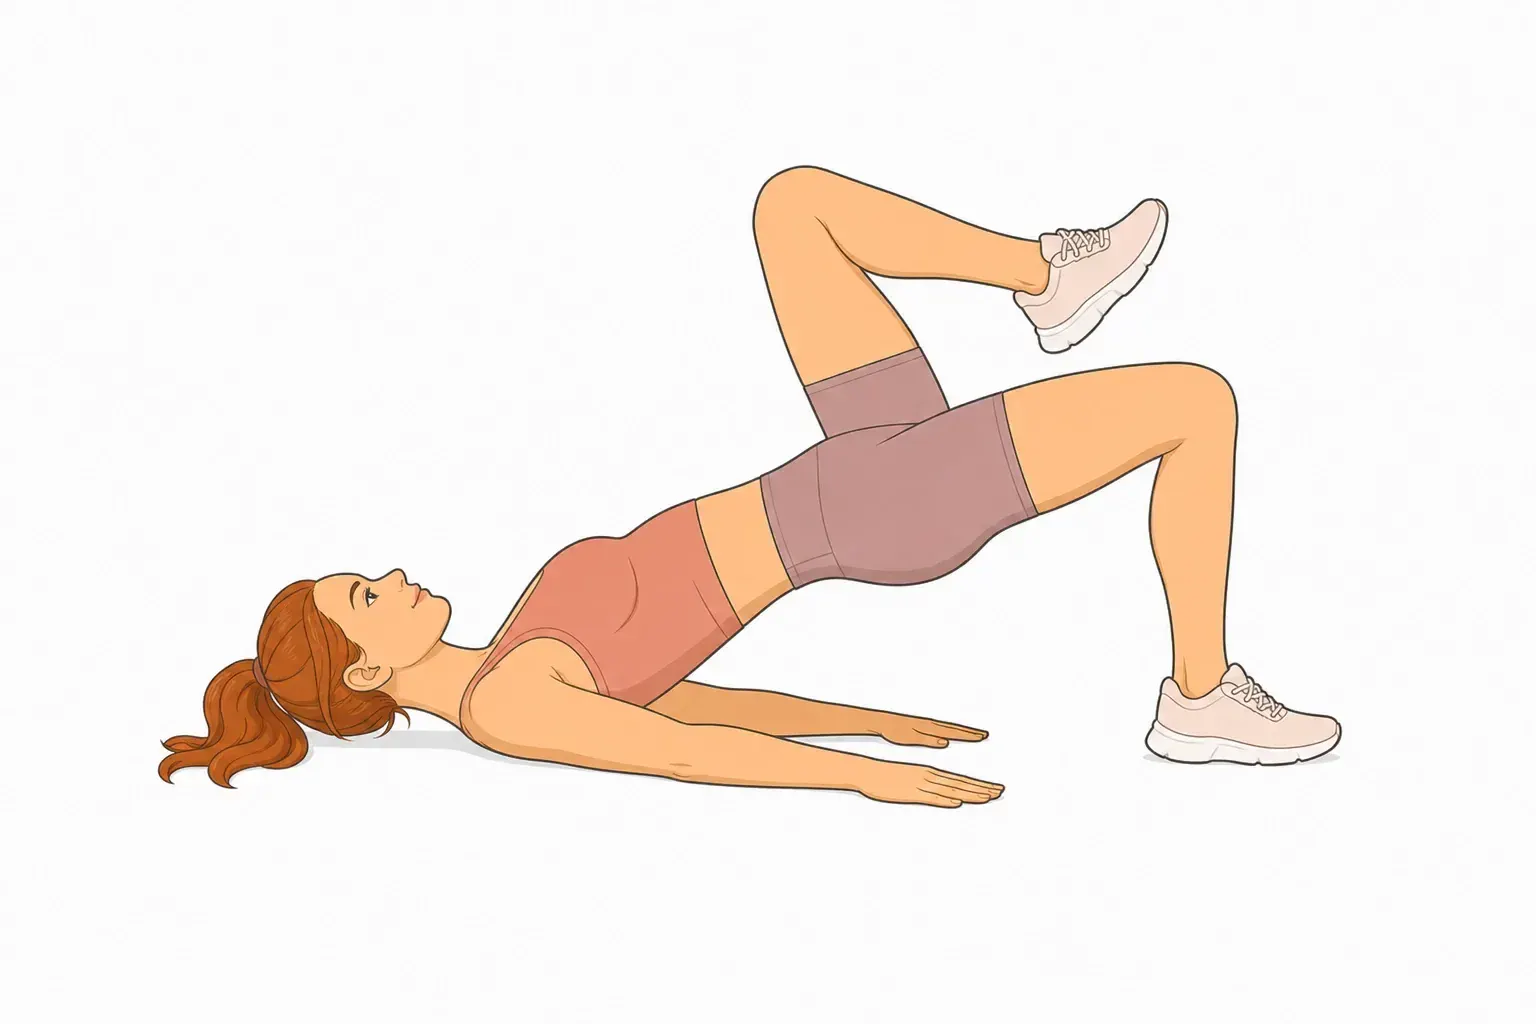

Single Leg Glute Bridge is a beginner lower body exercise you can do with no equipment. Below is the full movement, step by step, with the form cues and common mistakes that matter most.
At a glance
| Body area | Lower body |
|---|---|
| Difficulty | Beginner |
| Equipment | None — bodyweight only |
| Main muscles | Glutes and hamstrings |
| Movement pattern | Push |
| Trained | One side at a time |
| Steps | 2 |
Muscles worked
The work lands mainly on your glutes, with your hamstrings taking a share of it. Knowing which muscle does most of the work tells you where you will feel it the next day.
Because you train one side at a time, your core has to stop your hips and shoulders twisting on every rep, and any strength gap between your left and right side shows up immediately instead of being hidden by the stronger side.
The pattern here is push. Follow it with a pulling movement in the same session and the workout stays balanced.
How to do it
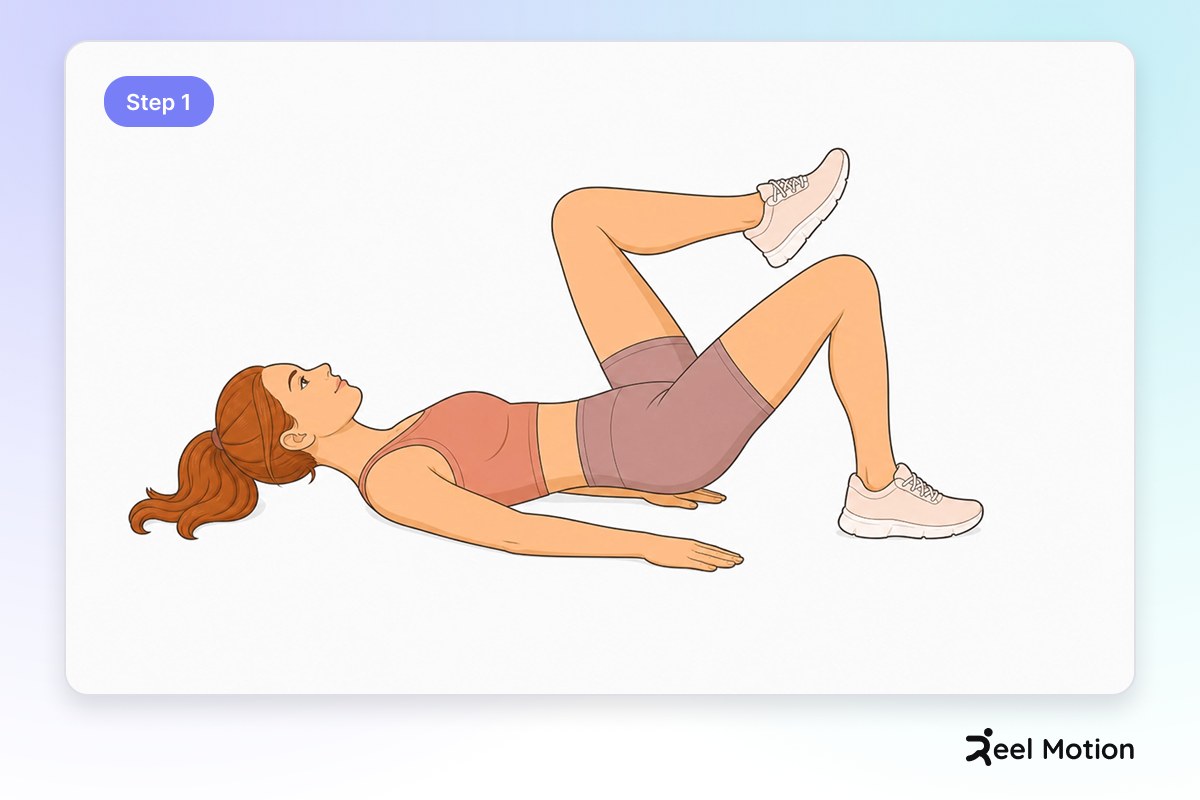
Step 1
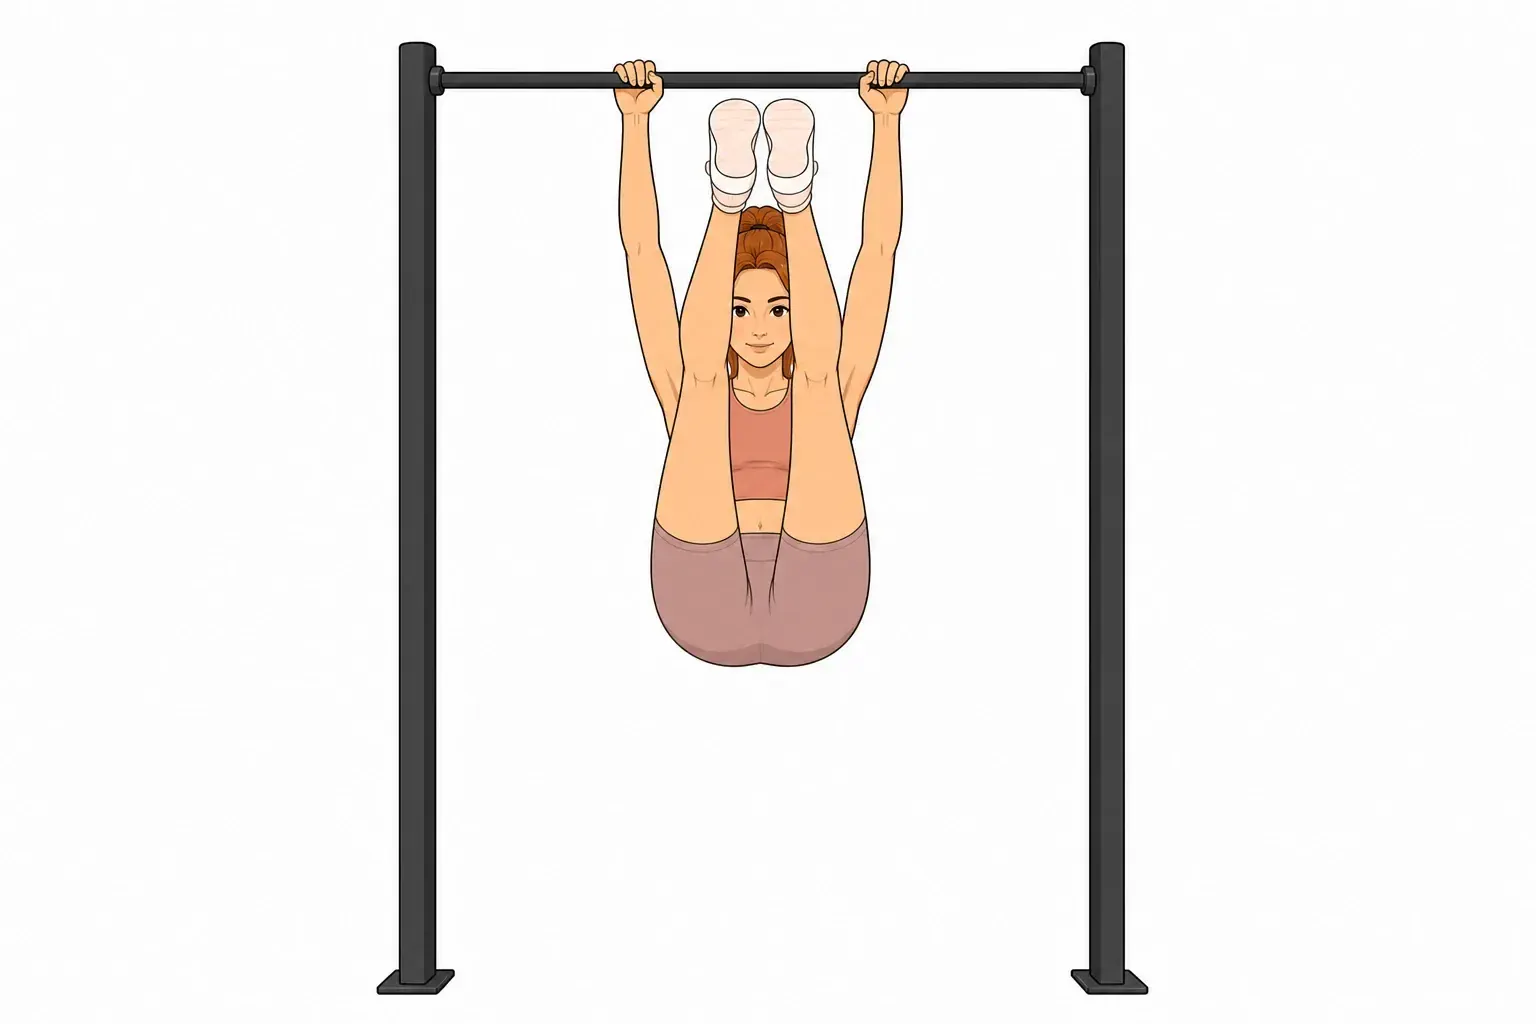
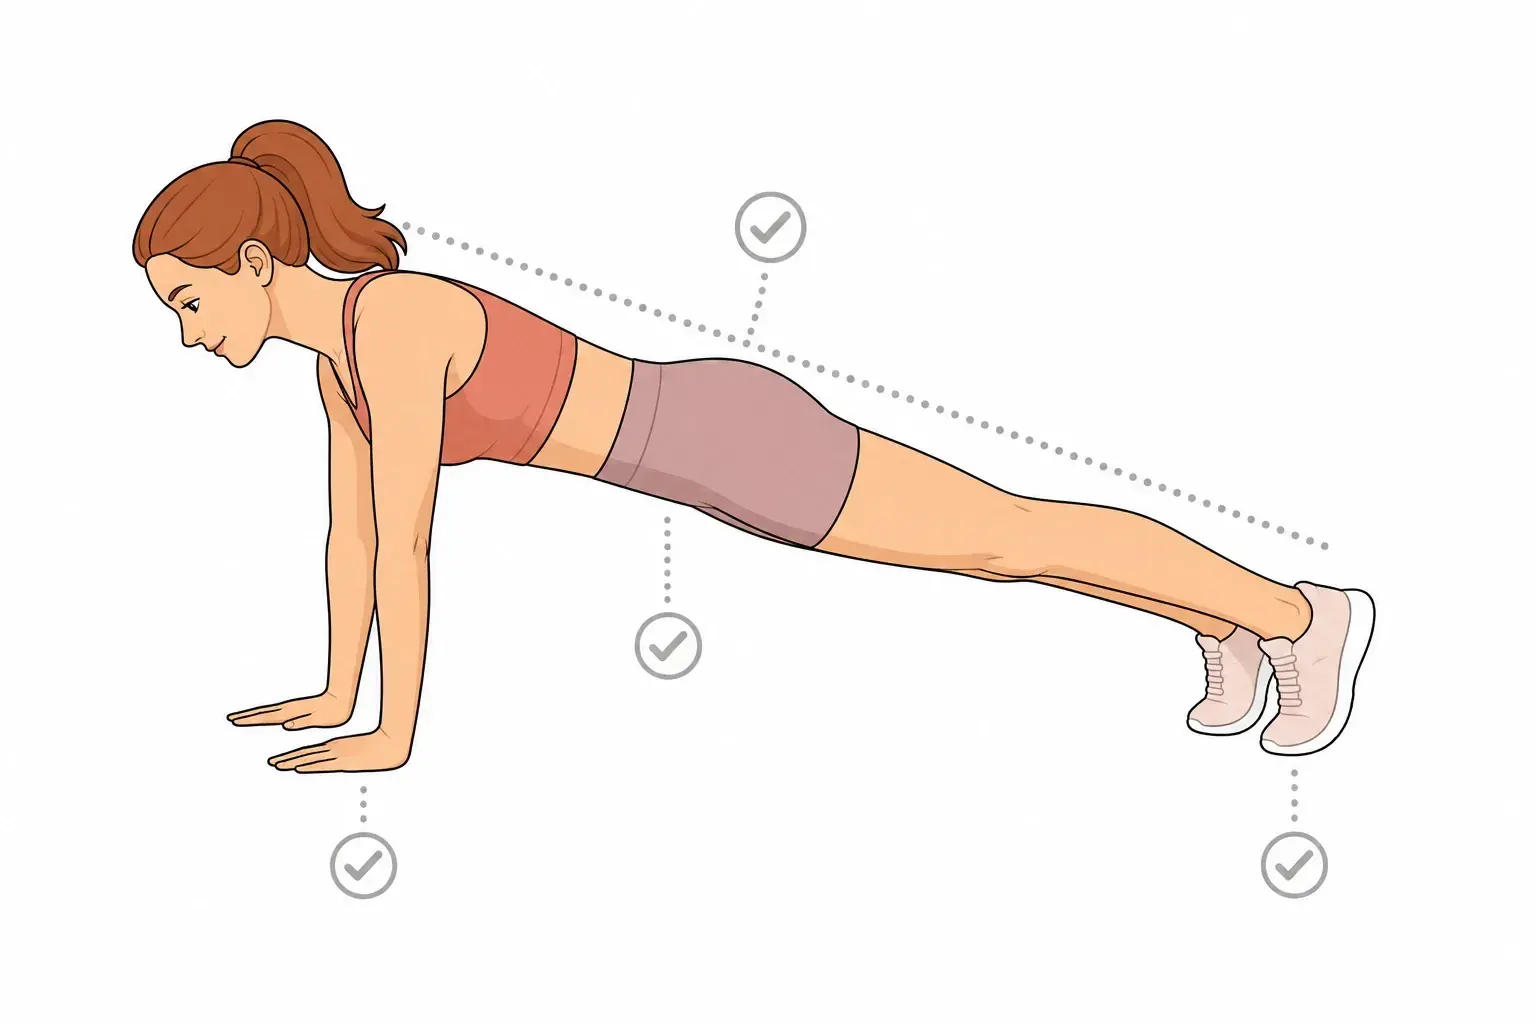
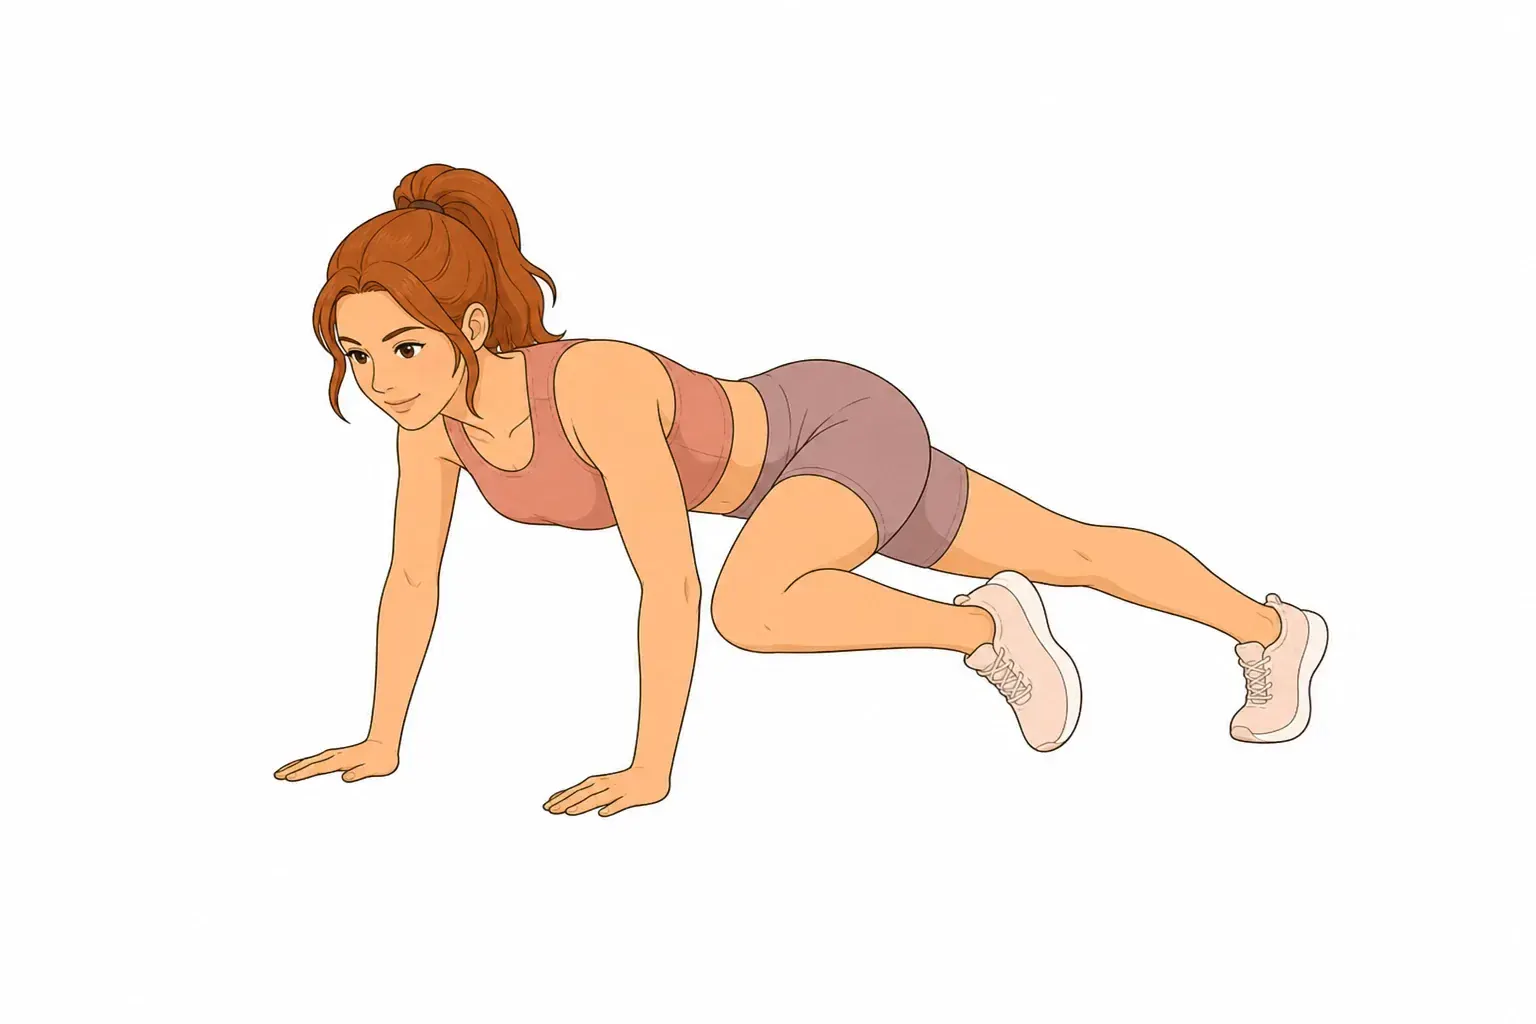
Lie on your back with your feet flat and knees bent, then raise one leg off the ground and pull that knee toward your chest.
Step 2
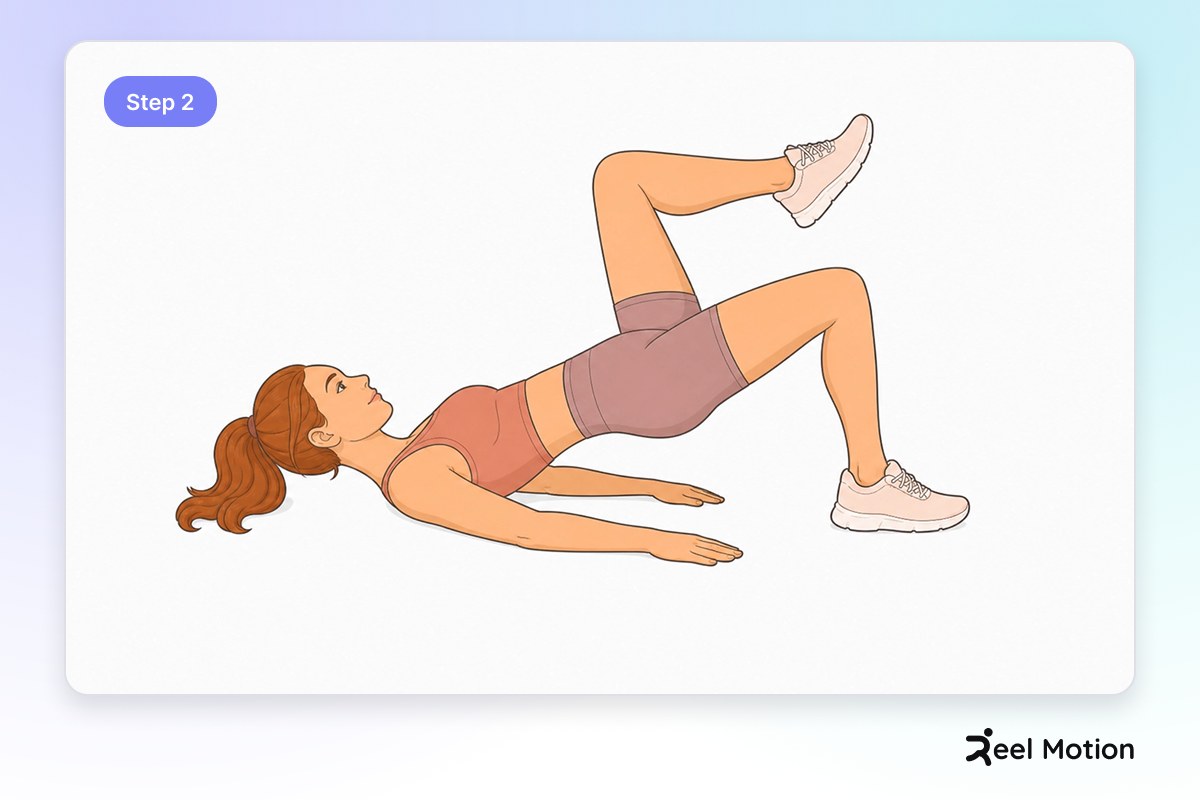
Drive through your standing heel and extend your hip upward, raising your glutes and hips as high as possible, pause at the top, then lower with control back to the starting position.
Form cues
- Keep your shoulders relaxed on the floor
- Press the standing foot firmly into the floor
- Engage your core
- Keep your chest up and shoulders on the floor
- Maintain a neutral spine throughout
- Squeeze your glutes at the top
- Keep your raised knee pulled toward your chest
Common mistakes
Neck strain from lifting head. Keep your head and neck neutral on the floor.
Raised heel on the standing leg. Press your heel into the floor throughout.
Hips dropping to one side. Keep your hips level and square.
Lower back arching excessively. Engage your core to protect your lower back.
Knee of raised leg drifting outward. Keep your raised knee aligned with your hip.
Breathing
Exhale as you drive upward; inhale as you lower.
How to program it
Reel Motion starts you at 3 sets of 10 per side, with 1 min of rest in between, which comes to about 3 min 30 sec in total. Match the reps on your weaker side first, then give the stronger side the same number and no more.
| Sets | 3 |
|---|---|
| Reps per set | 10 per side |
| Rest between sets | 1 min |
| Total time | about 3 min 30 sec |
Safety
- Ensure your lower back stays in contact with the floor during setup
- Do not hyperextend your lower back at the top of the movement
- Keep your neck neutral—do not crane your head forward
Where it fits in your training
Once the last set still looks clean, Freehand Jump Squat is the next step up in the same pattern. For a change at the same level, swap in Bodyweight Walking Lunge.
Related exercises
More lower body movements in the Reel Motion library:
- Glute Kickback — beginner
- Leg Lift — beginner
- Step-up with Knee Raise — beginner
- Assisted Pistol Squat — intermediate