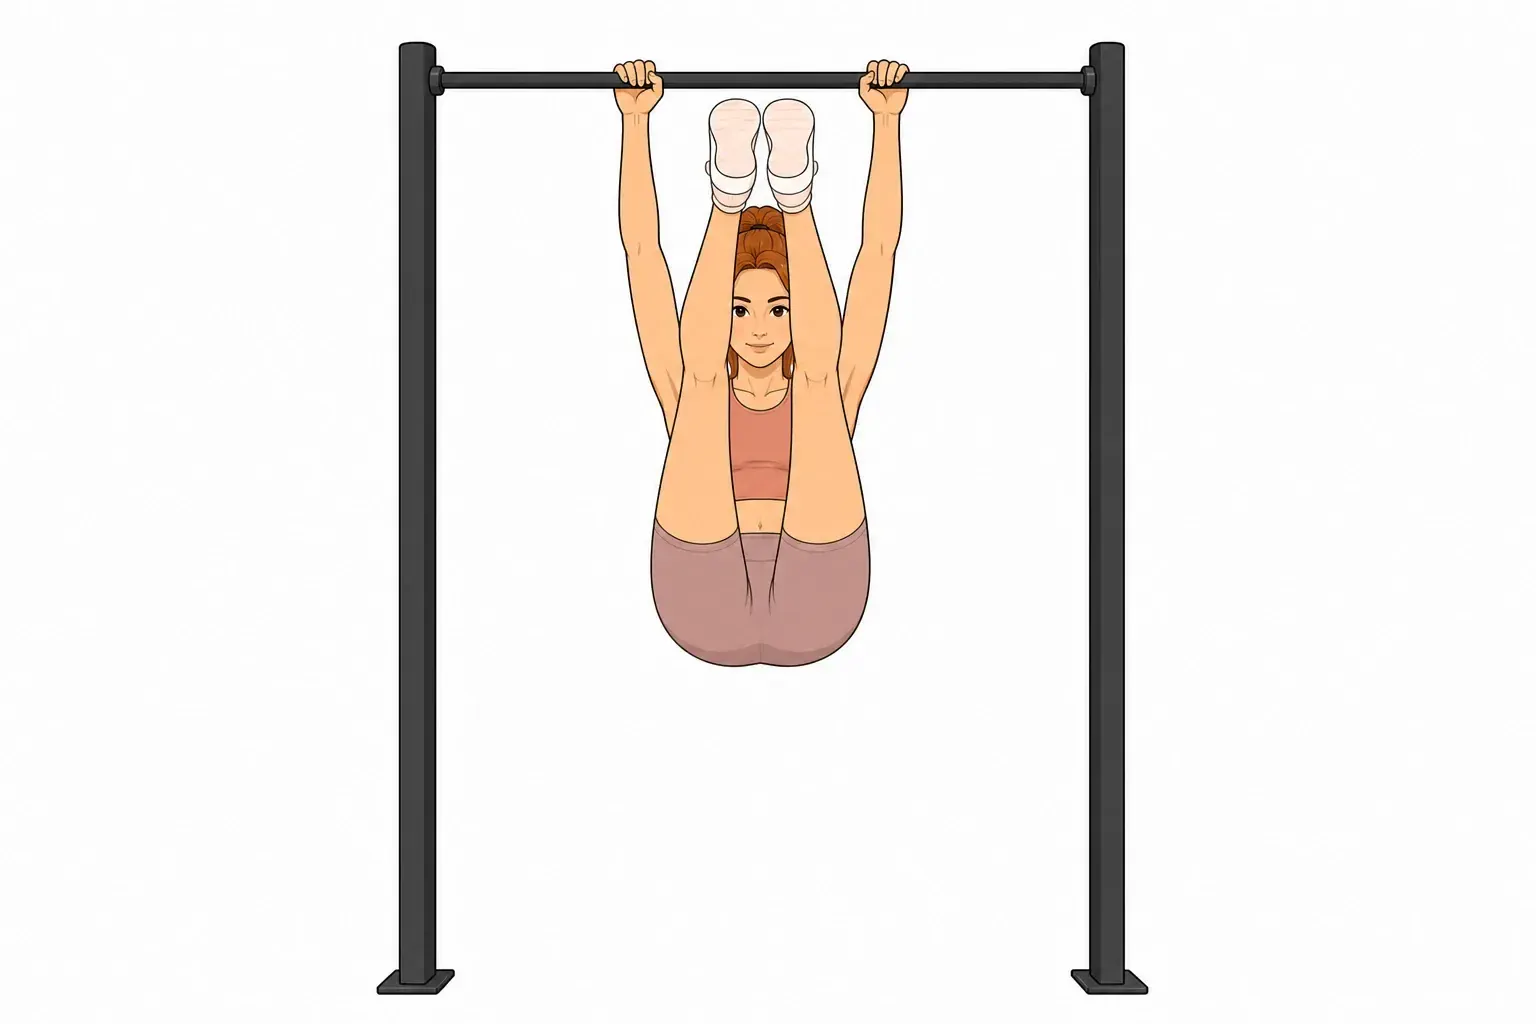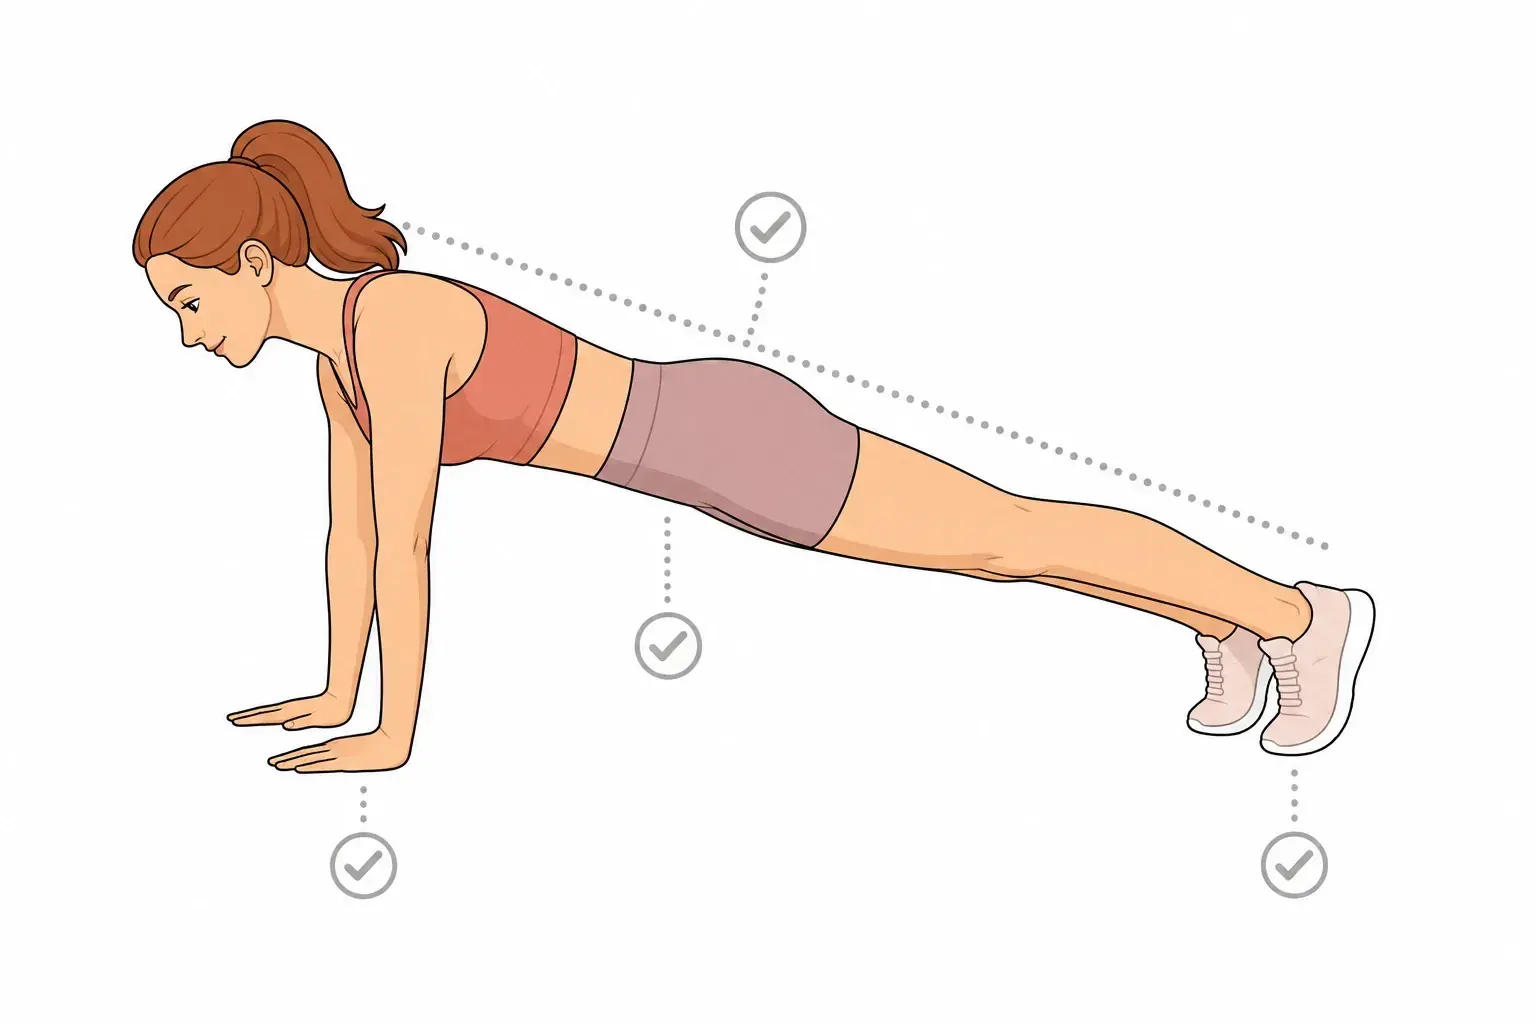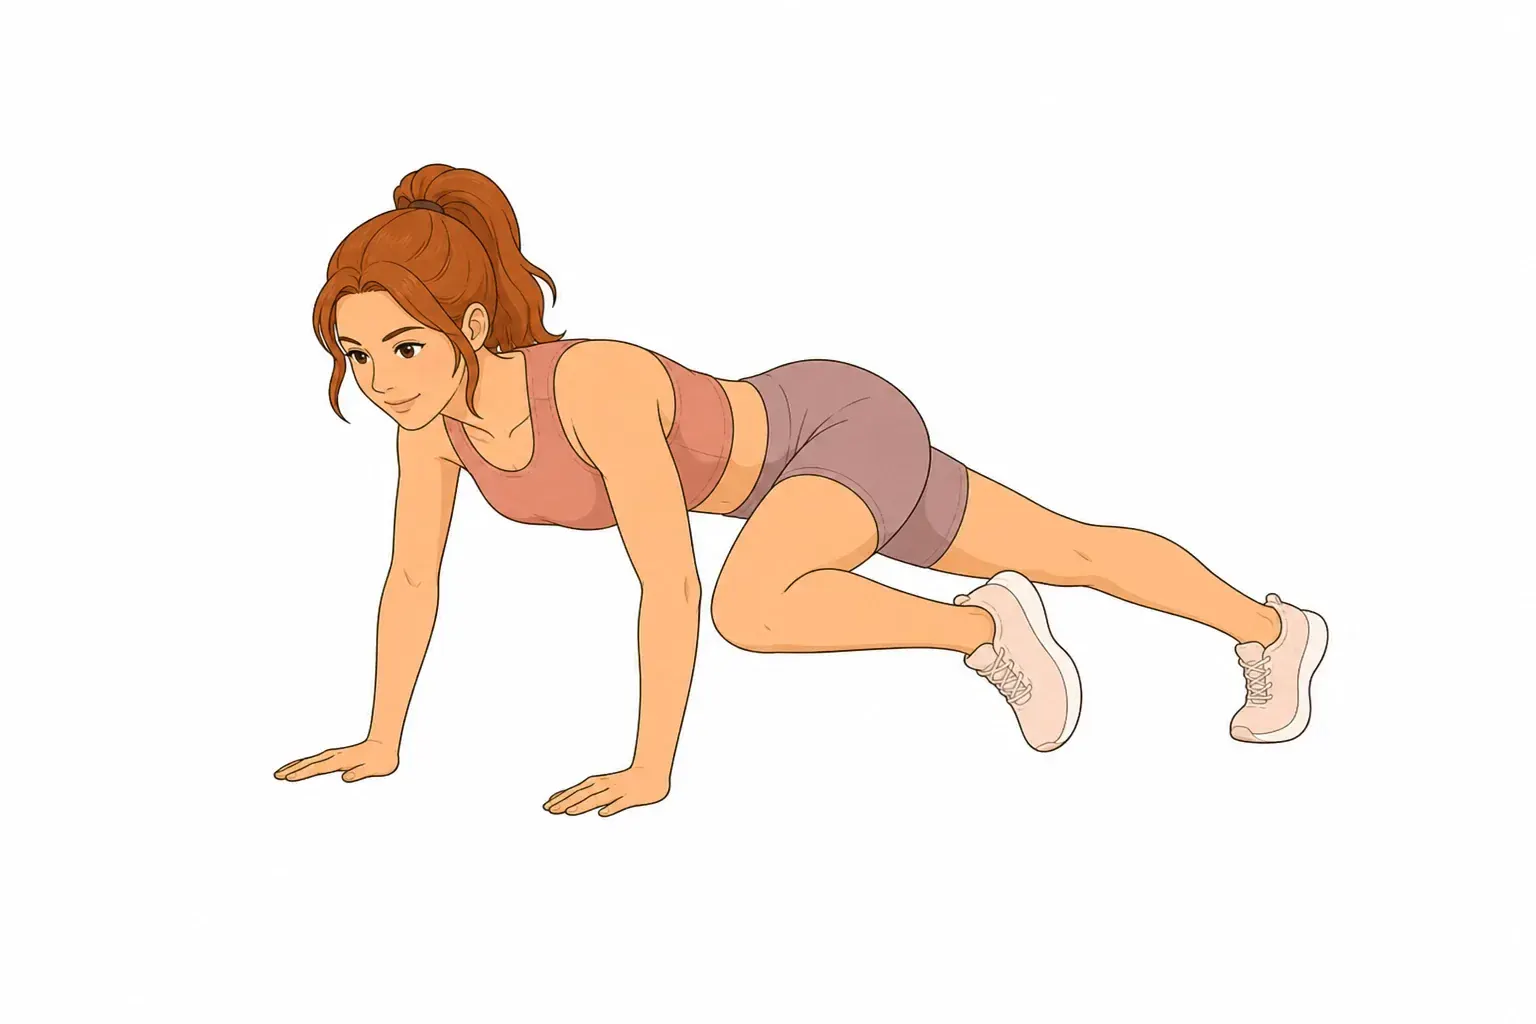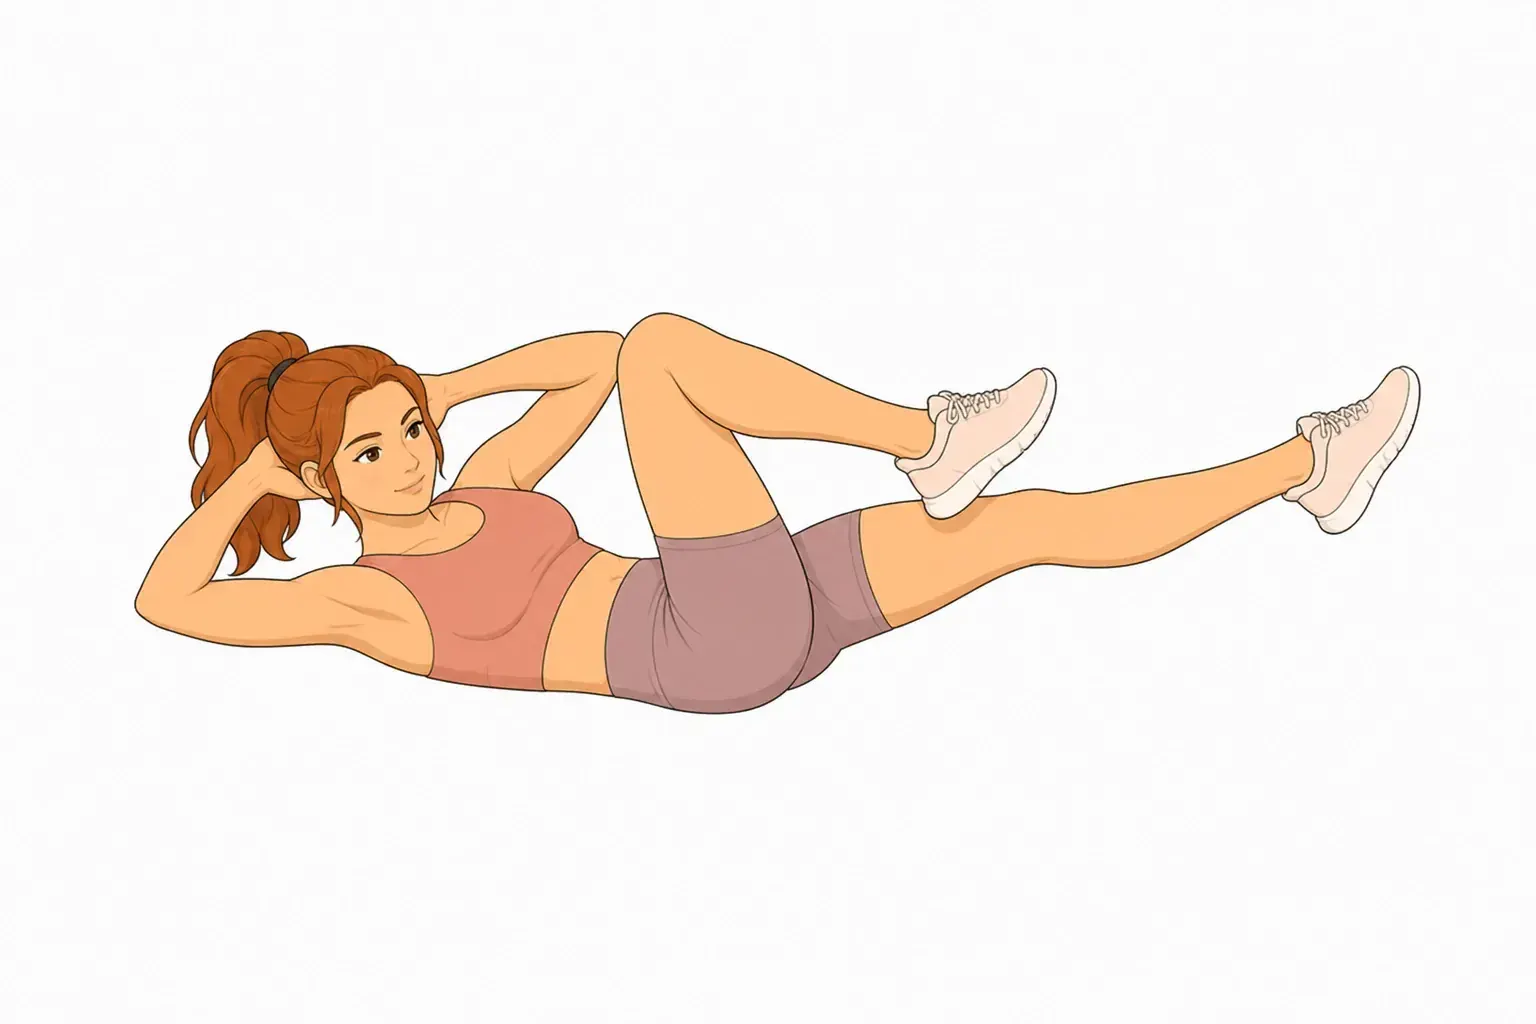

Air Bike is a beginner core exercise you can do with no equipment. Below is the full movement, step by step, with the form cues and common mistakes that matter most.
At a glance
| Body area | Core |
|---|---|
| Difficulty | Beginner |
| Equipment | None — bodyweight only |
| Main muscles | Abdominals |
| Movement pattern | Pull |
| Steps | 3 |
Muscles worked
The work lands almost entirely on your abdominals, so Air Bike is a targeted exercise rather than a general one.
The pattern here is pull. Follow it with a pushing movement in the same session and the workout stays balanced.
How to do it
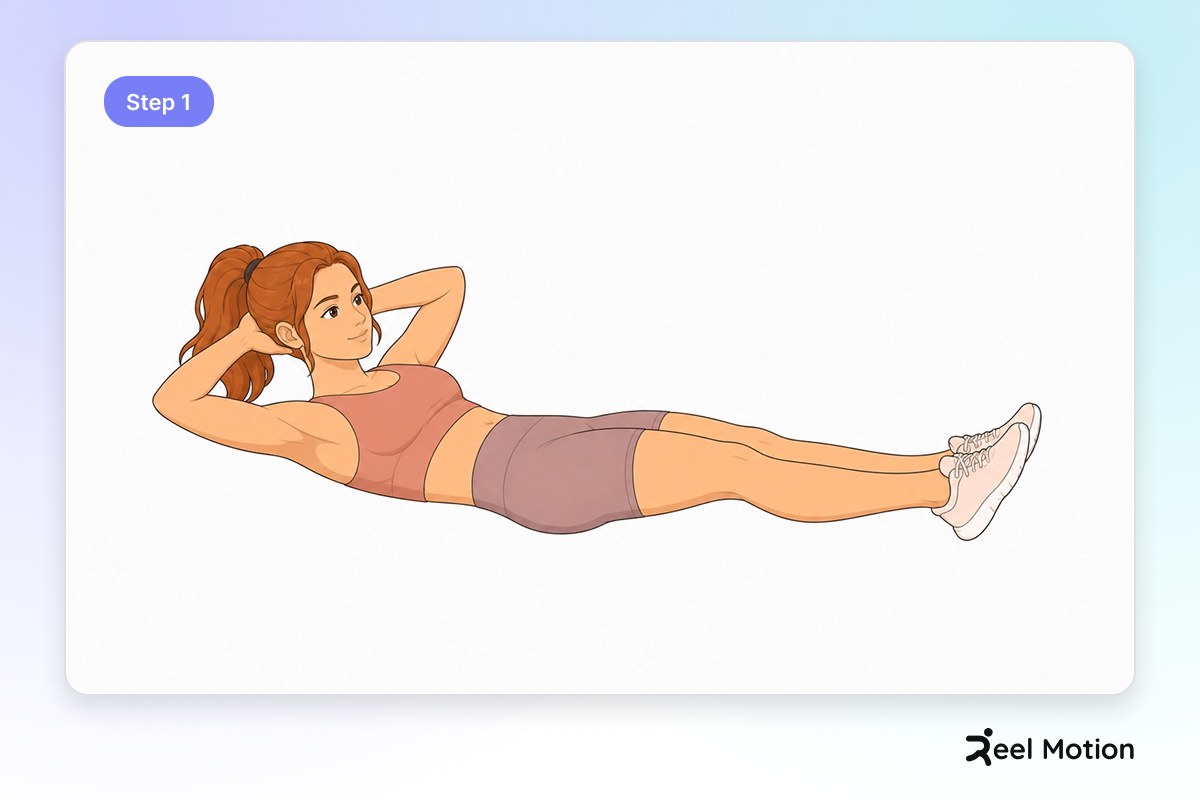
Step 1
Lie flat on your back with your lower back pressed to the floor, hands positioned beside your head with elbows bent, and lift your shoulders slightly into a crunch position without straining your neck.
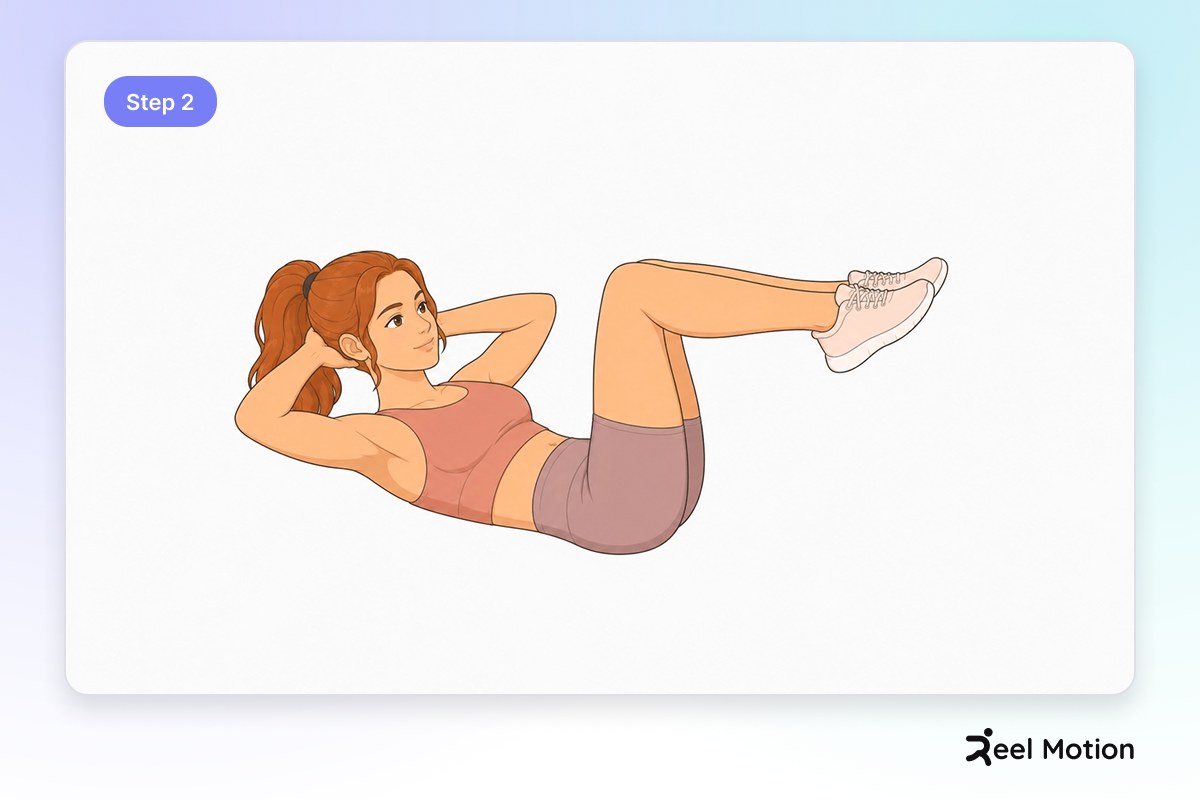
Step 2
Raise both knees to 90 degrees so they are perpendicular to the floor with your lower legs parallel to the floor.
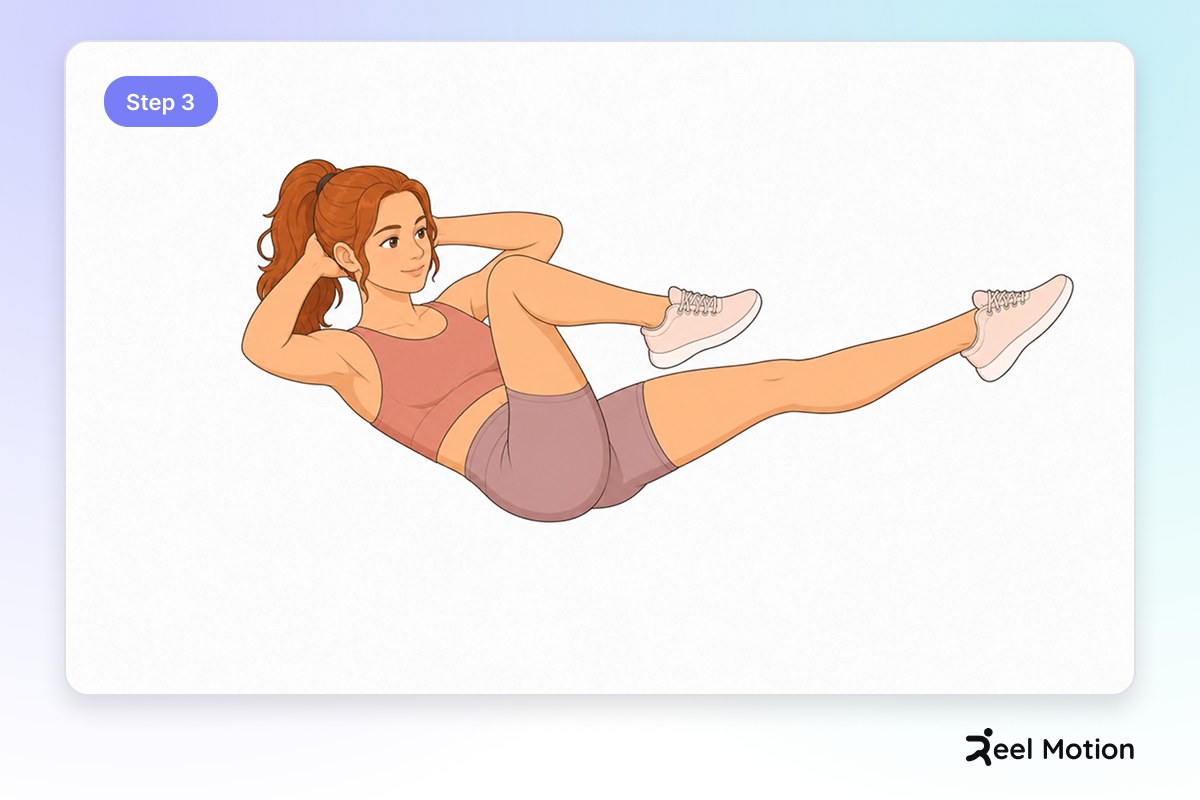
Step 3
Crunch to one side, bringing your right elbow toward your left knee while simultaneously extending your right leg forward and pulling your left knee in toward your chest, exhaling as you crunch, then return to center and inhale, then crunch to the opposite side bringing your left elbow toward your right knee while extending your left leg and pulling your right knee in, exhaling as you crunch, and continue alternating sides with a steady, controlled rhythm.
Form cues
- Lower back pressed to the floor
- Hands beside your head with elbows bent
- Shoulders lifted in crunch position
- Neck relaxed, no strain
- Both knees bent at 90 degrees
- Lower legs parallel to the floor
- Hips and knees aligned
- Crunch to the side, bringing elbow toward opposite knee
- Extend one leg forward while pulling the other knee in
- Keep your lower back pressed to the floor
- Move with control, no jerking
- Exhale as you crunch, inhale as you return to center
Common mistakes
Neck strain or pulling on the head. Keep your neck neutral and let your core lift your shoulders, not your hands.
Lower back arching off the floor. Press your lower back into the floor throughout the exercise.
Hands pressing hard into the head. Use your hands for light support only, not to pull yourself up.
Knees too high or too low. Adjust your knees so they form a 90-degree angle with your shins.
Lower legs not parallel to the floor. Keep your shins level and parallel to the ground.
Hips lifting off the floor. Press your lower back and hips into the floor.
Jerky or rushed pedaling motion. Move slowly and deliberately through each pedal cycle.
Lower back lifting off the floor. Keep your lower back in contact with the floor throughout.
Elbows not reaching toward the opposite knee. Crunch your torso so your elbow moves closer to the opposite knee.
Extended leg touching the floor. Keep your extended leg hovering just above the floor.
Neck strain from pulling upward. Let your core do the work, not your neck.
Breathing
Exhale as you crunch to each side; inhale as you return to center.
How to program it
Reel Motion starts you at 3 sets of 10, with 1 min of rest in between, which comes to about 3 min 30 sec in total. Add sets before you add reps, and reps before you shorten the rest.
| Sets | 3 |
|---|---|
| Reps per set | 10 |
| Rest between sets | 1 min |
| Total time | about 3 min 30 sec |
Safety
- Do not pull on your neck or head with your hands
- Keep your lower back in contact with the floor to protect your spine
- Do not let your lower back arch or lift off the floor
- Keep your extended leg from touching the ground to maintain core tension
- Move at a controlled pace to avoid momentum-driven movement
Where it fits in your training
Once the last set still looks clean, Gorilla Chin/Crunch is the next step up in the same pattern. For a change at the same level, swap in Bent-Knee Hip Raise.
Related exercises
More core movements in the Reel Motion library:
- Cross-Body Crunch — beginner
- Flat Bench Lying Leg Raise — beginner
- Hanging Leg Raise — advanced
- Jackknife Sit-Up — beginner