
Side to Side Hip Dips is an intermediate core exercise you can do with no equipment. Below is the full movement, step by step, with the form cues and common mistakes that matter most.
At a glance
| Body area | Core |
|---|---|
| Difficulty | Intermediate |
| Equipment | None — bodyweight only |
| Main muscles | Obliques, transverse abdominis and core stabilizers |
| Movement pattern | Lateral flexion and rotation |
| Steps | 3 |
Muscles worked
The work lands mainly on your obliques, with your transverse abdominis and core stabilizers taking a share of it. That mix is what makes Side to Side Hip Dips worth keeping in a rotation rather than doing it once and forgetting it.
The pattern here is lateral flexion and rotation.
This exercise targets both obliques and overall core stability simultaneously. Perform with control and maintain proper form throughout.
How to do it
Step 1
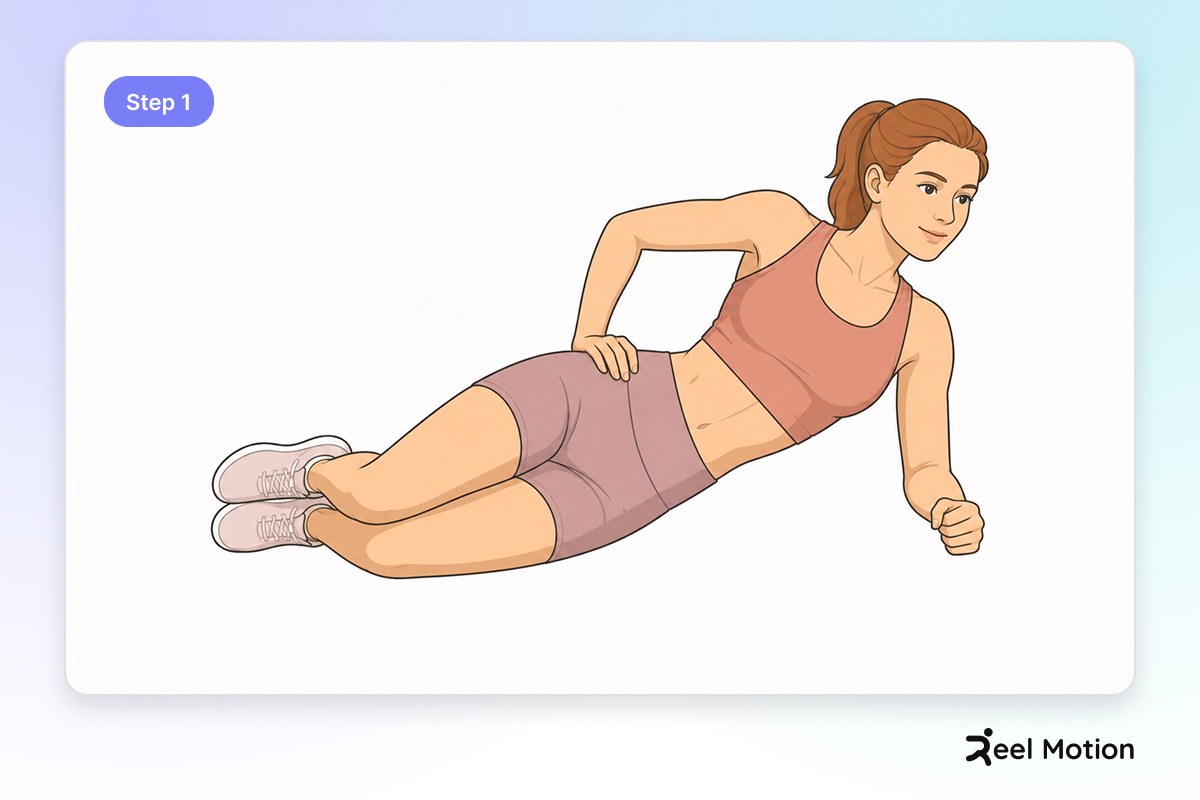
Lie on your side with your legs stacked, knees bent, and your upper body propped up on your forearm with your elbow directly under your shoulder.
Step 2
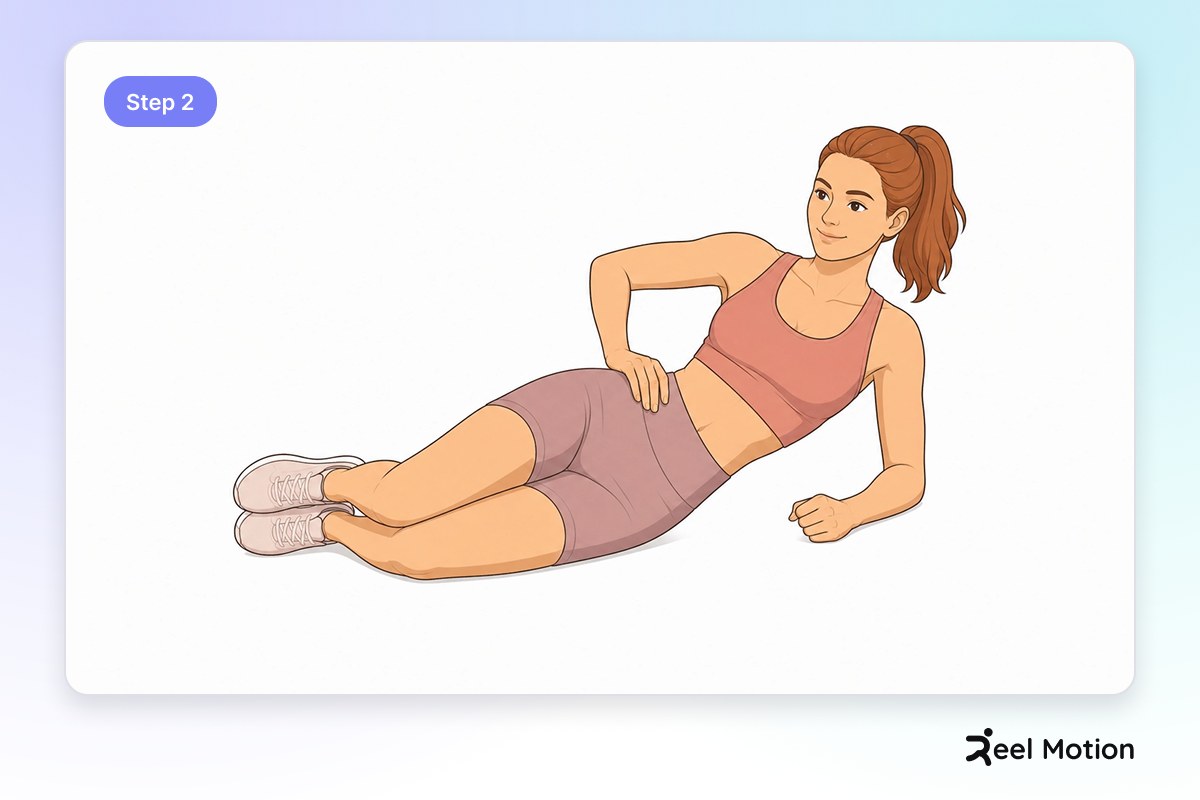
Lower your hips toward the floor in a controlled dip, then press back up to the starting position using your obliques and core.
Step 3
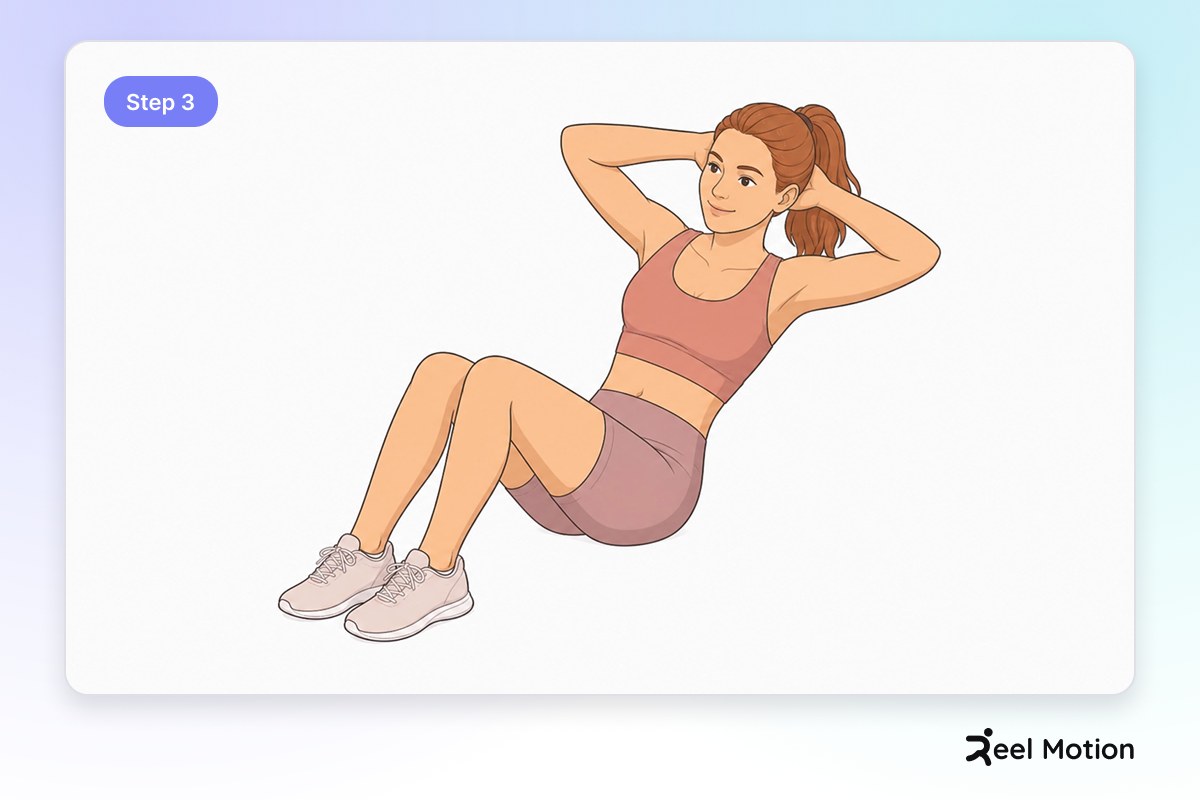
Complete all reps on one side, then roll to your other side and repeat with the same controlled rhythm.
Form cues
- Elbow directly under your shoulder
- Legs stacked and bent
- Core engaged
- Move with control throughout
- Lead with your hips, not your shoulders
- Keep your body in a straight line from head to knees
- Maintain alignment on both sides
- Use the same controlled pace throughout
Common mistakes
Elbow positioned too far forward or back. Stack your elbow directly under your shoulder for stability.
Hips sagging toward the floor. Engage your core to keep your hips lifted and aligned.
Shoulders hunched toward ears. Relax your shoulders away from your ears.
Jerky or bouncing movements. Move slowly and deliberately through each dip.
Rotating your torso forward or backward. Keep your chest facing forward; rotate only at the hips.
Letting your top shoulder roll forward. Stack your shoulders vertically; maintain a straight line.
Rushing through the transition between sides. Take a breath between sides; reset your position carefully.
Losing form on the second side. Match the quality of movement on both sides.
Breathing
Exhale as you press up; inhale as you lower down.
How to program it
Reel Motion starts you at 3 sets of 10, with 1 min of rest in between, which comes to about 3 min 30 sec in total. Change the numbers before you change the technique.
| Sets | 3 |
|---|---|
| Reps per set | 10 |
| Rest between sets | 1 min |
| Total time | about 3 min 30 sec |
Related exercises
More core movements in the Reel Motion library:
- Dead Bug — beginner
- Single Arm Plank — advanced
- Single Leg Plank — advanced
- Bird Dog — intermediate