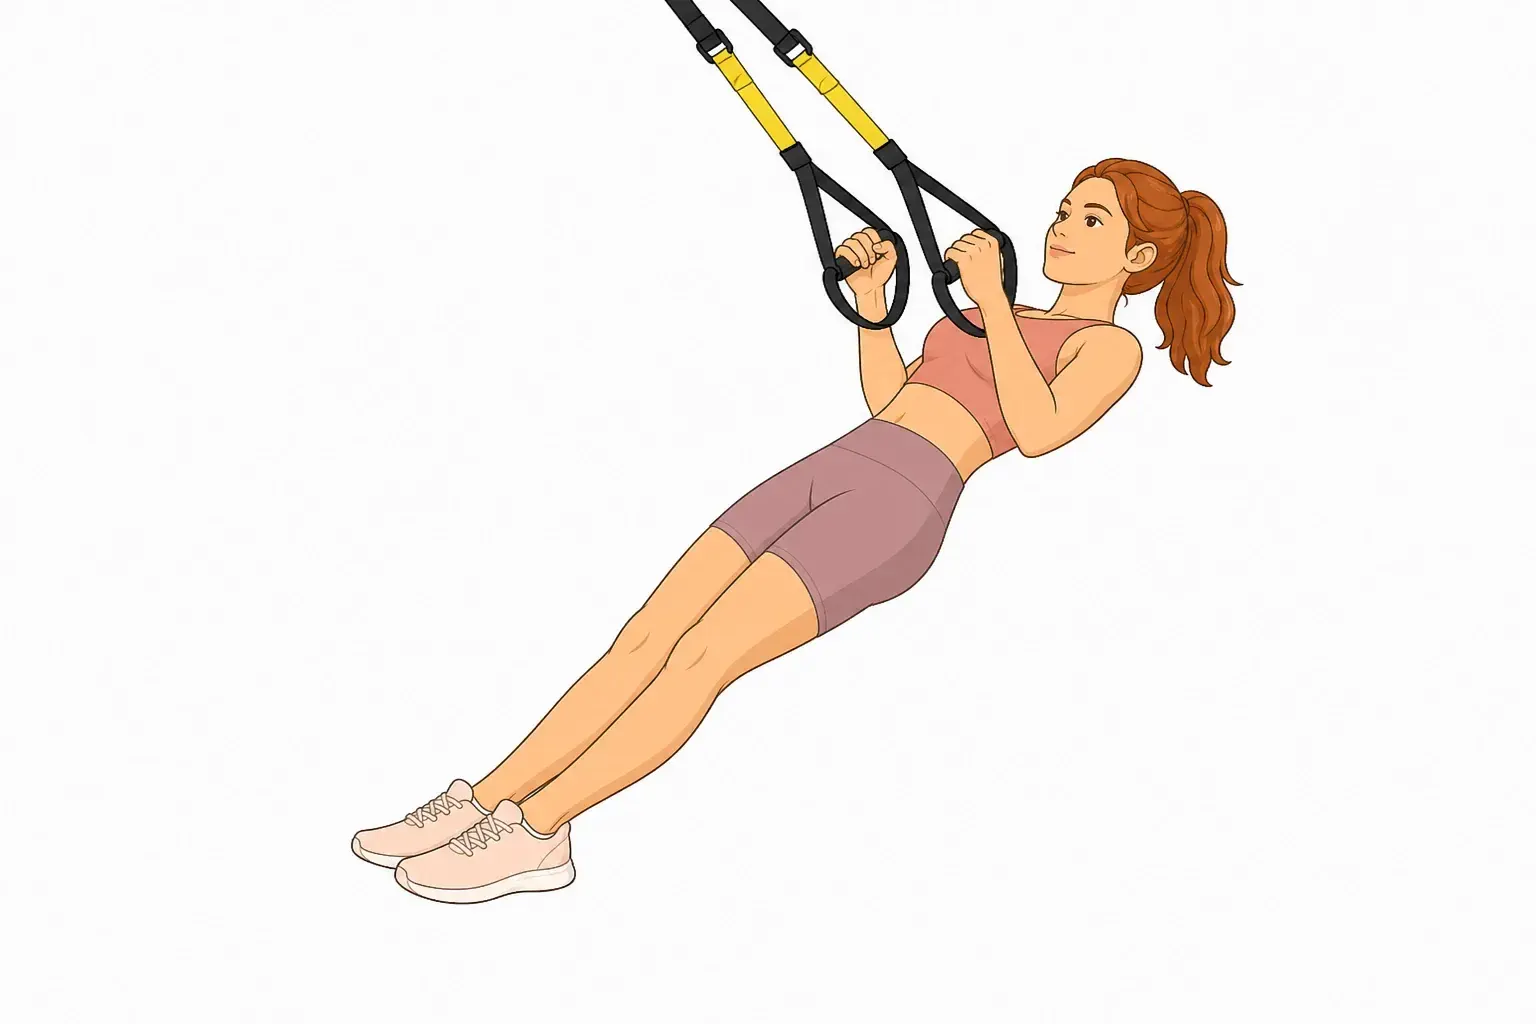

Inverted Row with Straps is a beginner upper body exercise you can do with no equipment. Below is the full movement, step by step, with the form cues and common mistakes that matter most.
At a glance
| Body area | Upper body |
|---|---|
| Difficulty | Beginner |
| Equipment | None — bodyweight only |
| Main muscles | Middle back, biceps and lats |
| Movement pattern | Pull |
| Steps | 2 |
Muscles worked
The work lands mainly on your middle back, with your biceps and lats taking a share of it. If one of those areas is already sore, move Inverted Row with Straps to another day.
The pattern here is pull. Follow it with a pushing movement in the same session and the workout stays balanced.
How to do it
Step 1
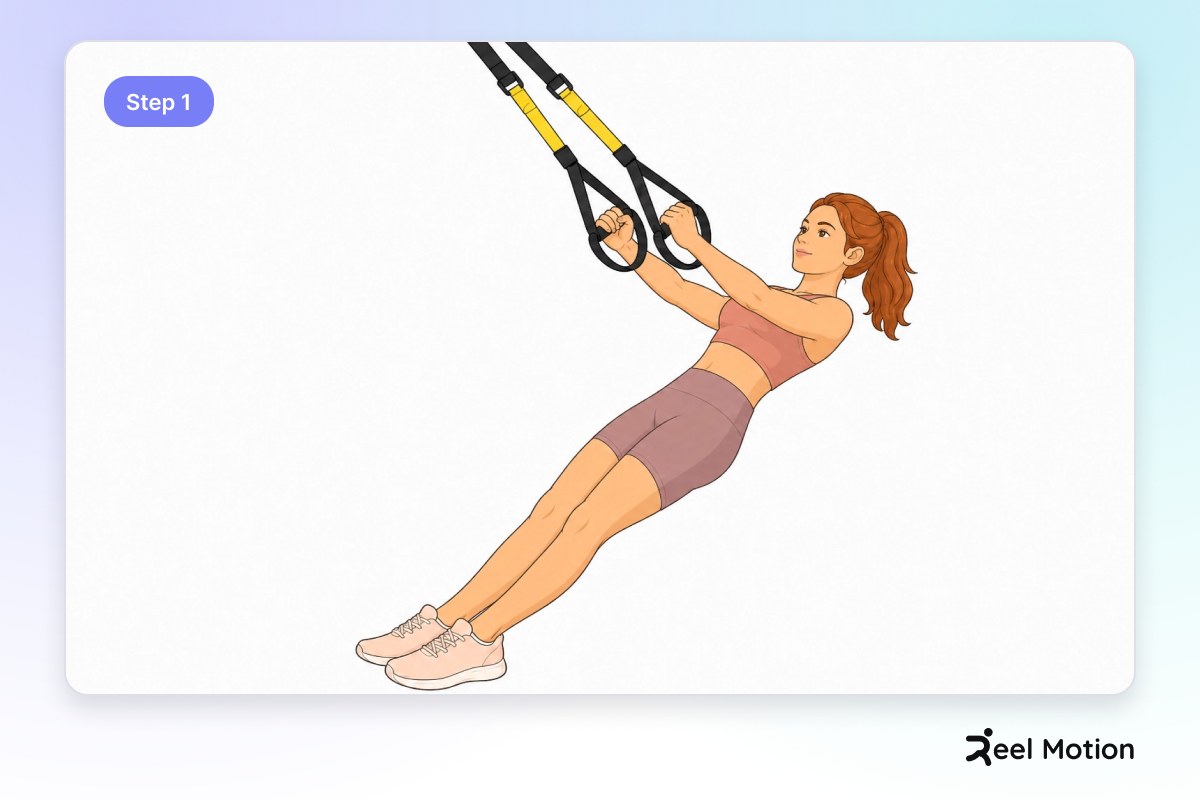
Hang the straps from a stable overhead rack, grasp both ends, and position yourself underneath with your body straight, heels on the ground, and arms fully extended.
Step 2
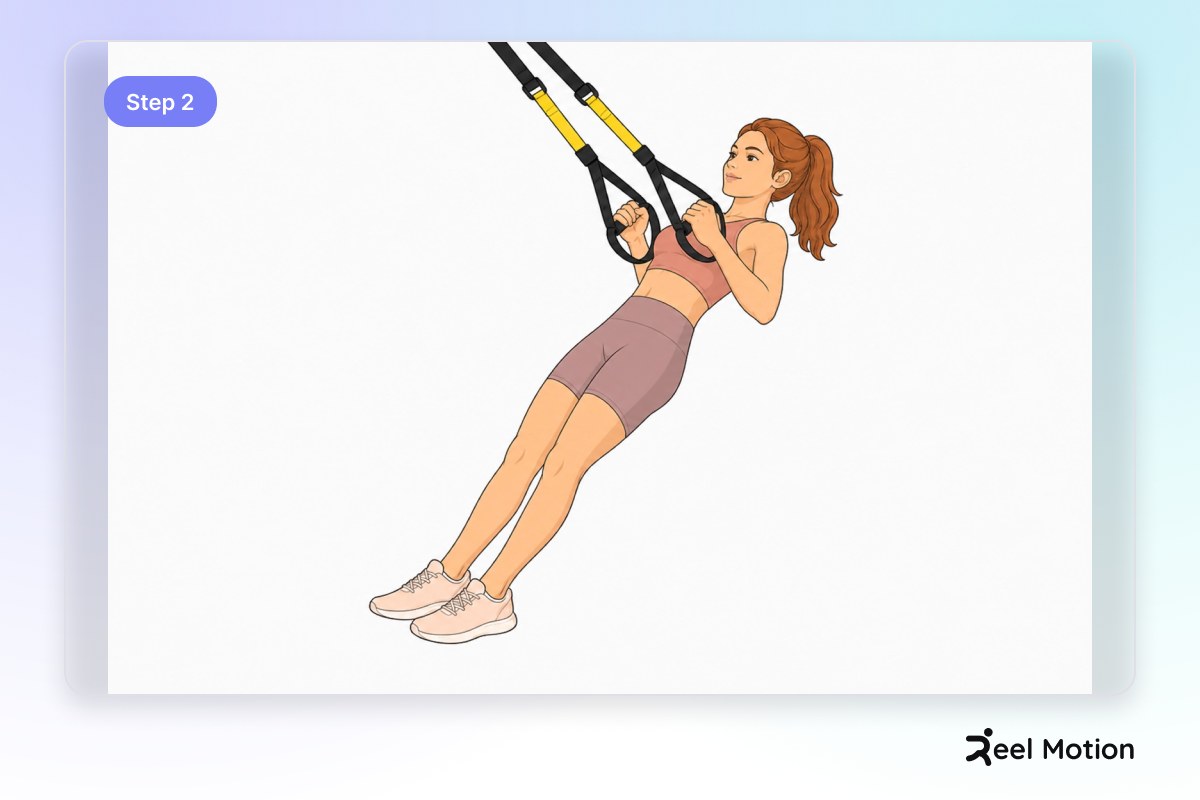
Bend your elbows and pull your chest toward your hands, retracting your shoulder blades together, then pause briefly at the top.
Form cues
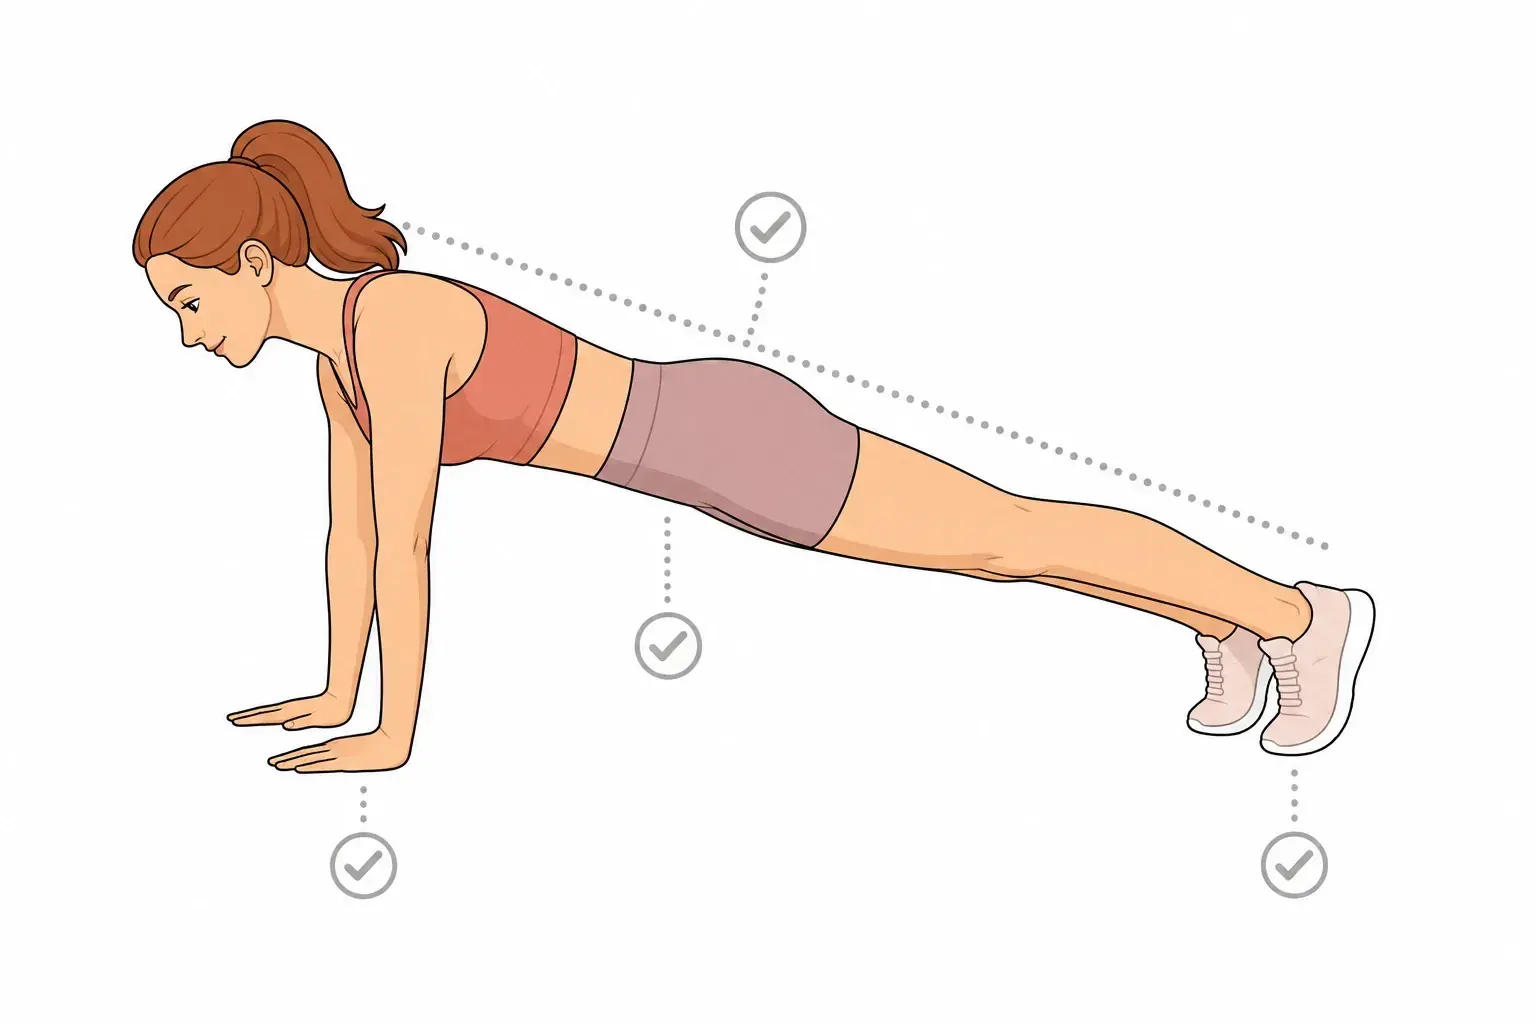
- Keep your body in a straight line from head to heels
- Press your heels into the ground for stability
- Extend your arms fully without locking your elbows
- Drive your elbows back and down
- Retract your shoulder blades toward your spine
- Keep your body straight throughout the pull
- Bring your chest as close to your hands as possible
- Extend your arms slowly and deliberately
- Keep your body aligned from head to heels
- Maintain tension in your core throughout the descent
Common mistakes
Sagging hips or lower back. Engage your core and glutes to keep your body aligned.
Heels lifting off the ground. Press your heels firmly into the floor throughout the setup.
Elbows locked or hyperextended. Keep a soft bend in your elbows at full extension.
Elbows flaring out to the sides. Keep elbows tucked close to your body as you pull.
Hips sagging or dropping during the pull. Maintain a rigid plank position by engaging your core.
Shoulders shrugging toward the ears. Pull your shoulders down and back, away from your ears.
Incomplete range of motion. Pull until your chest nearly touches your hands.
Dropping or falling back to the start position. Lower yourself at a steady, controlled pace.
Allowing hips to sag during the descent. Keep your glutes and core engaged to maintain alignment.
Losing control of the movement. Move with intention, resisting gravity rather than surrendering to it.
Breathing
- Inhale as you settle into position.
- Exhale as you pull your chest toward your hands.
Safety
- Ensure the straps and overhead rack are secure before beginning
- Test the stability of the setup with your body weight before pulling
- Do not allow your lower back to arch excessively
- Maintain tension in your core throughout the movement
- Never drop or swing back to the starting position
Where it fits in your training
Once the last set still looks clean, Bodyweight Mid Row is the next step up in the same pattern. For a change at the same level, swap in Chin-Up.
Related exercises
More upper body movements in the Reel Motion library:
- V-Bar Pullup — beginner
- Band Assisted Pull-Up — beginner
- Inverted Row — beginner
- Pull-Up — intermediate